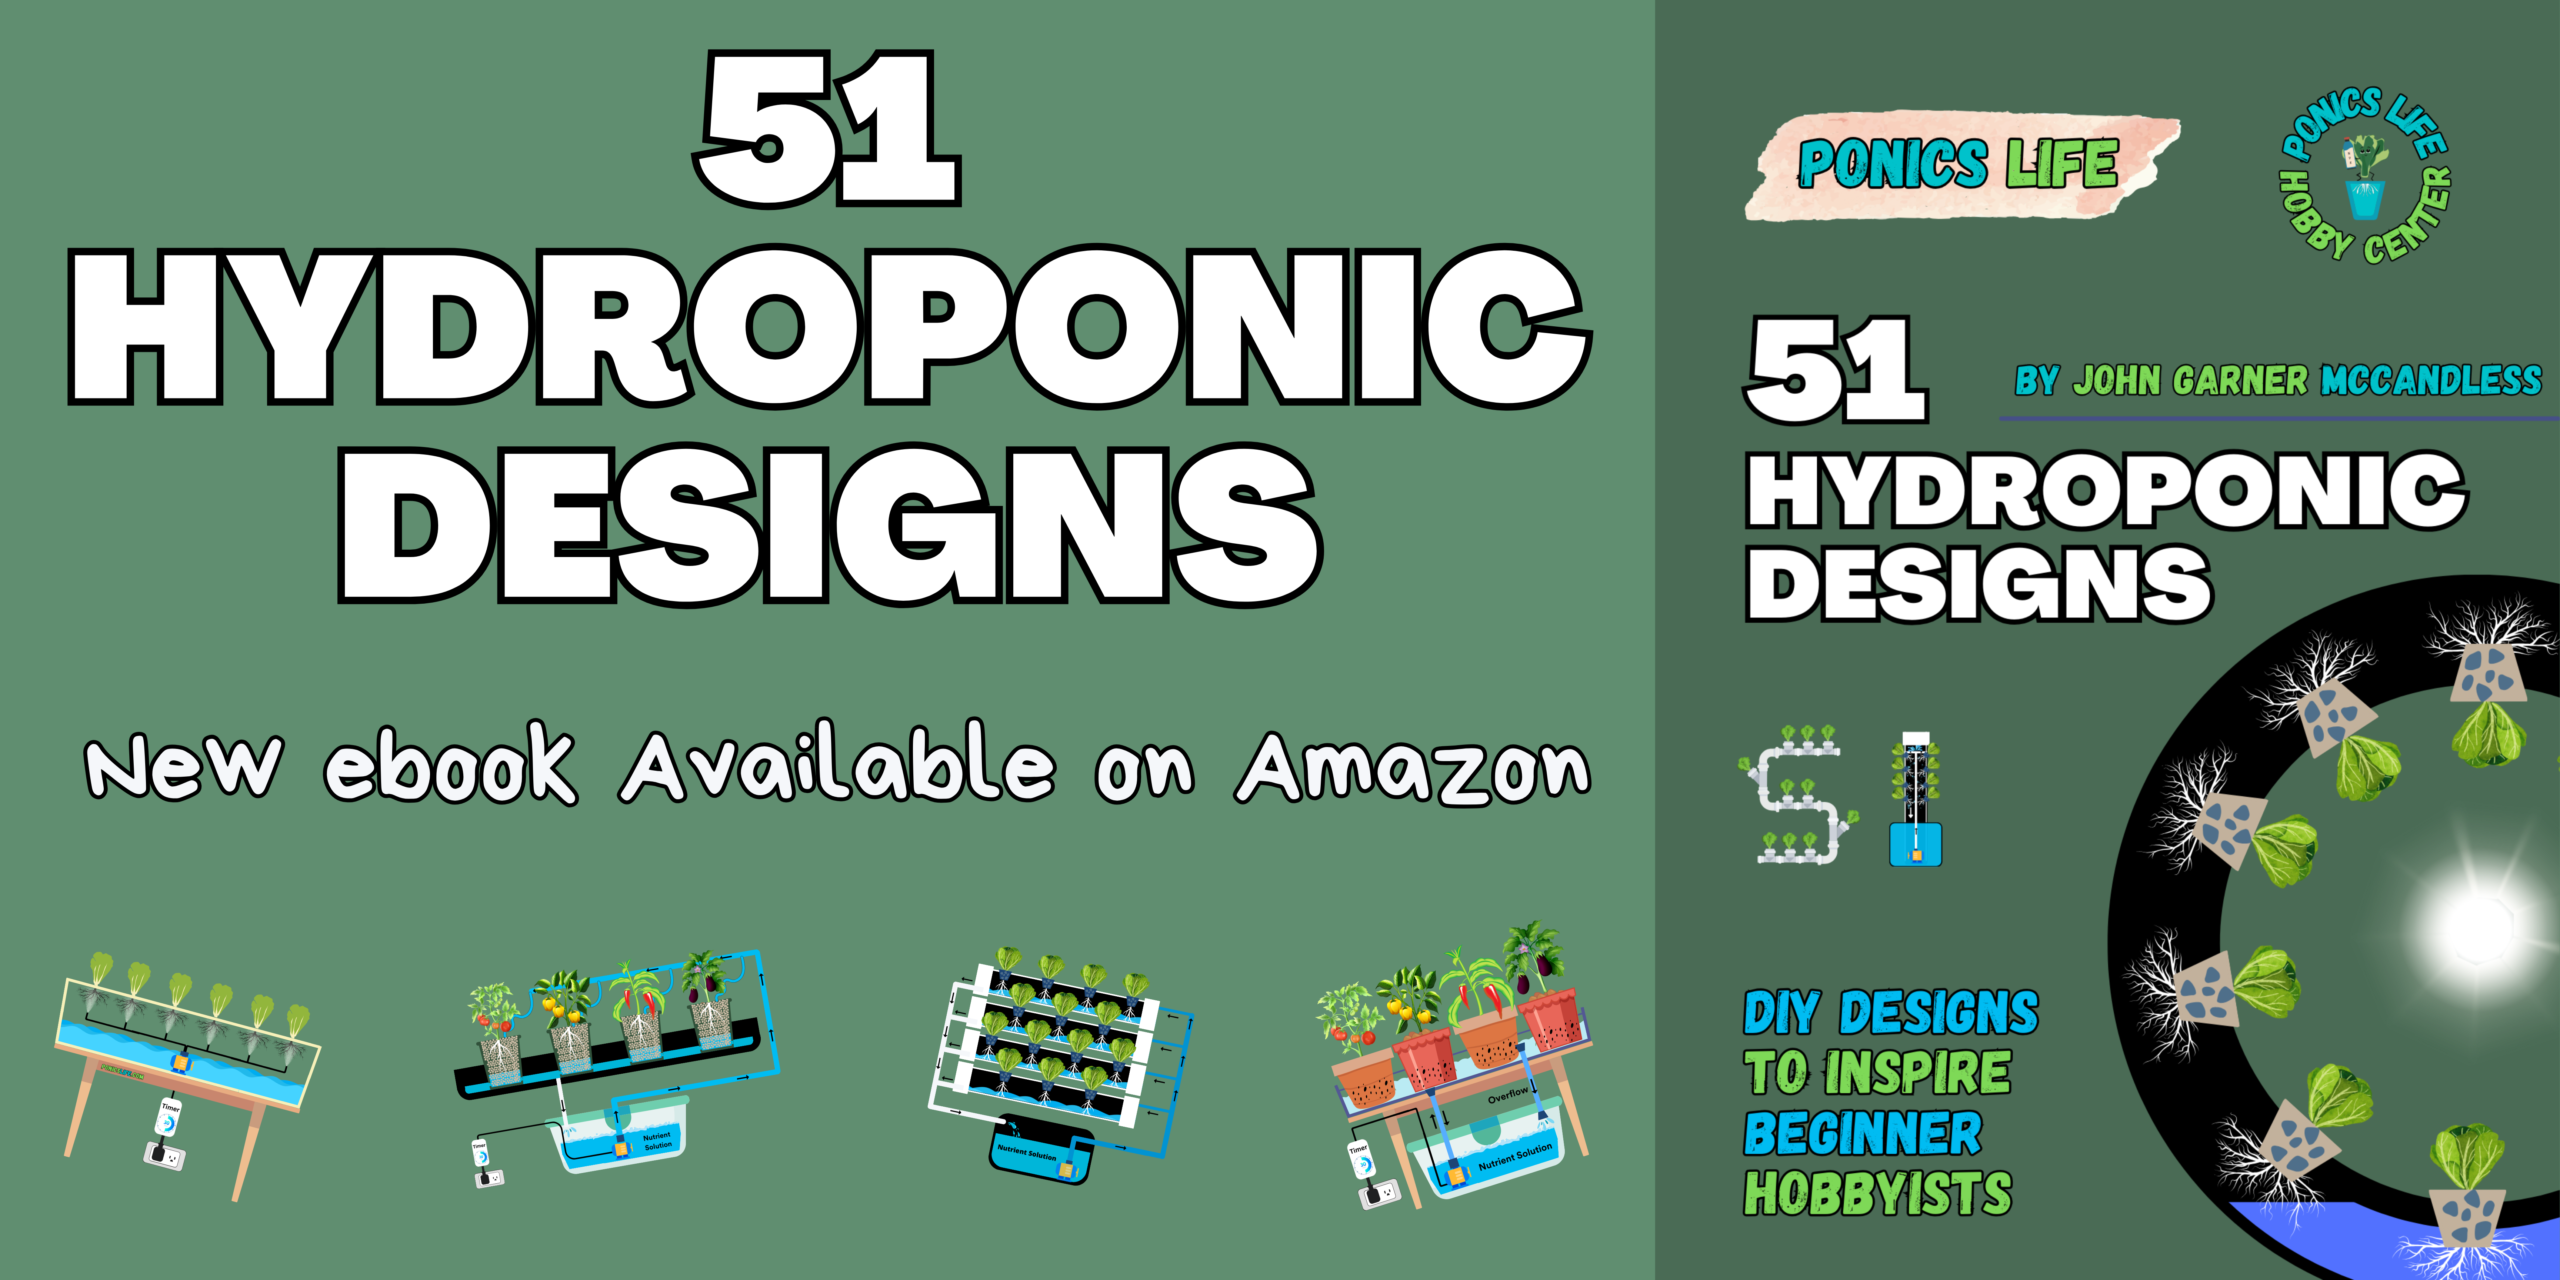
If all the complicated pumps and tubes are putting you off hydroponic gardening, then look no further than the Kratky Method.

This set-it-and-forget-it technique is ideal for beginners and those short on time, because it allows you to passively grow delicious leafy greens and herbs from the comfort of your own home. It doesn’t require any electricity, water changes, or even attention once you set it up. You can also build your own Kratky setup using something as simple as a mason jar or bucket.
So what are you waiting for? If you want to grow fresh lettuce and more without breaking a sweat, you’ve got to try the Kratky Method.
What is the Kratky Method?
The Kratky method is a simple and easy way to grow plants hydroponically.
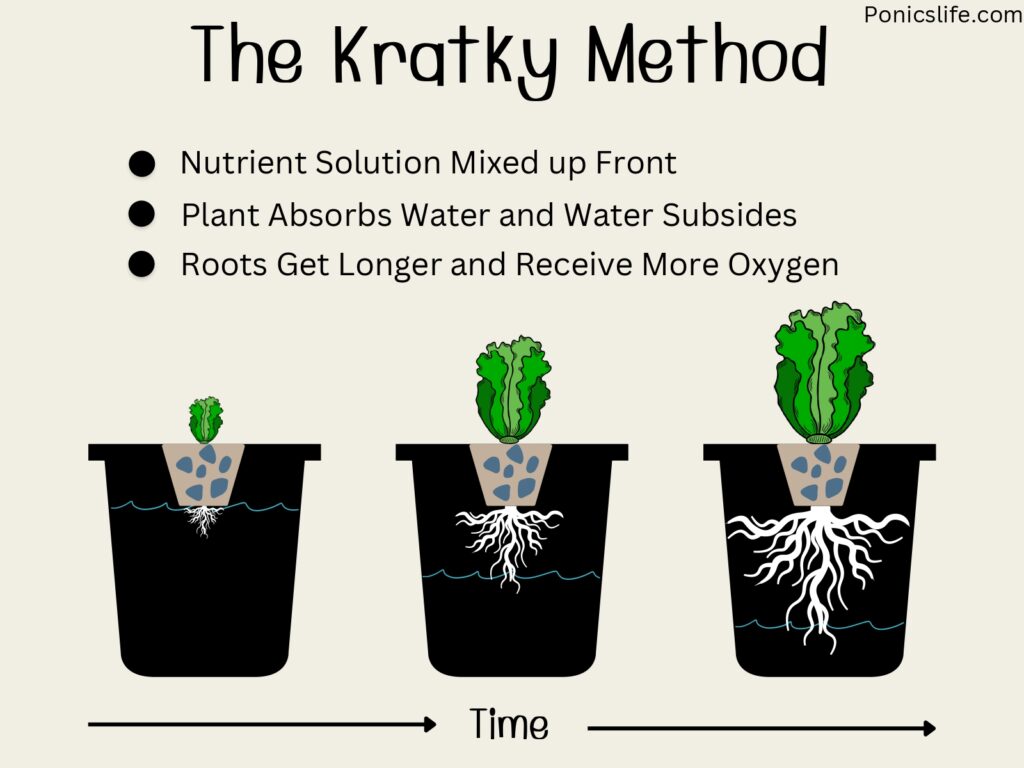
In the Kratky method, plant roots are suspended in water containing all the nutrients they need to grow throughout their life. It is a non-recirculating method, which means that it doesn’t require any pumps to circulate the water or nutrients like other methods of hydroponics use. Instead, the water is left stagnant and the roots gain access to additional oxygen as the water level decreases over time.
This method was invented in the 1990s by Bernard A. Kratky, a horticulturist at the University of Hawaii at Manoa. The method is popular for its ease and affordability.
How Does Kratky Hydroponics Work?
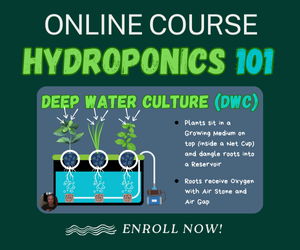
The Kratky method is a variant of Deep Water Culture or Direct Water Culture (DWC) hydroponics. In DWC growing, the plants’ roots sit in the nutrient solution around the clock, with no cycle of ebb-and-flow. A pump and air stone are used to continuously aerate the water to ensure the roots get plenty of oxygen.
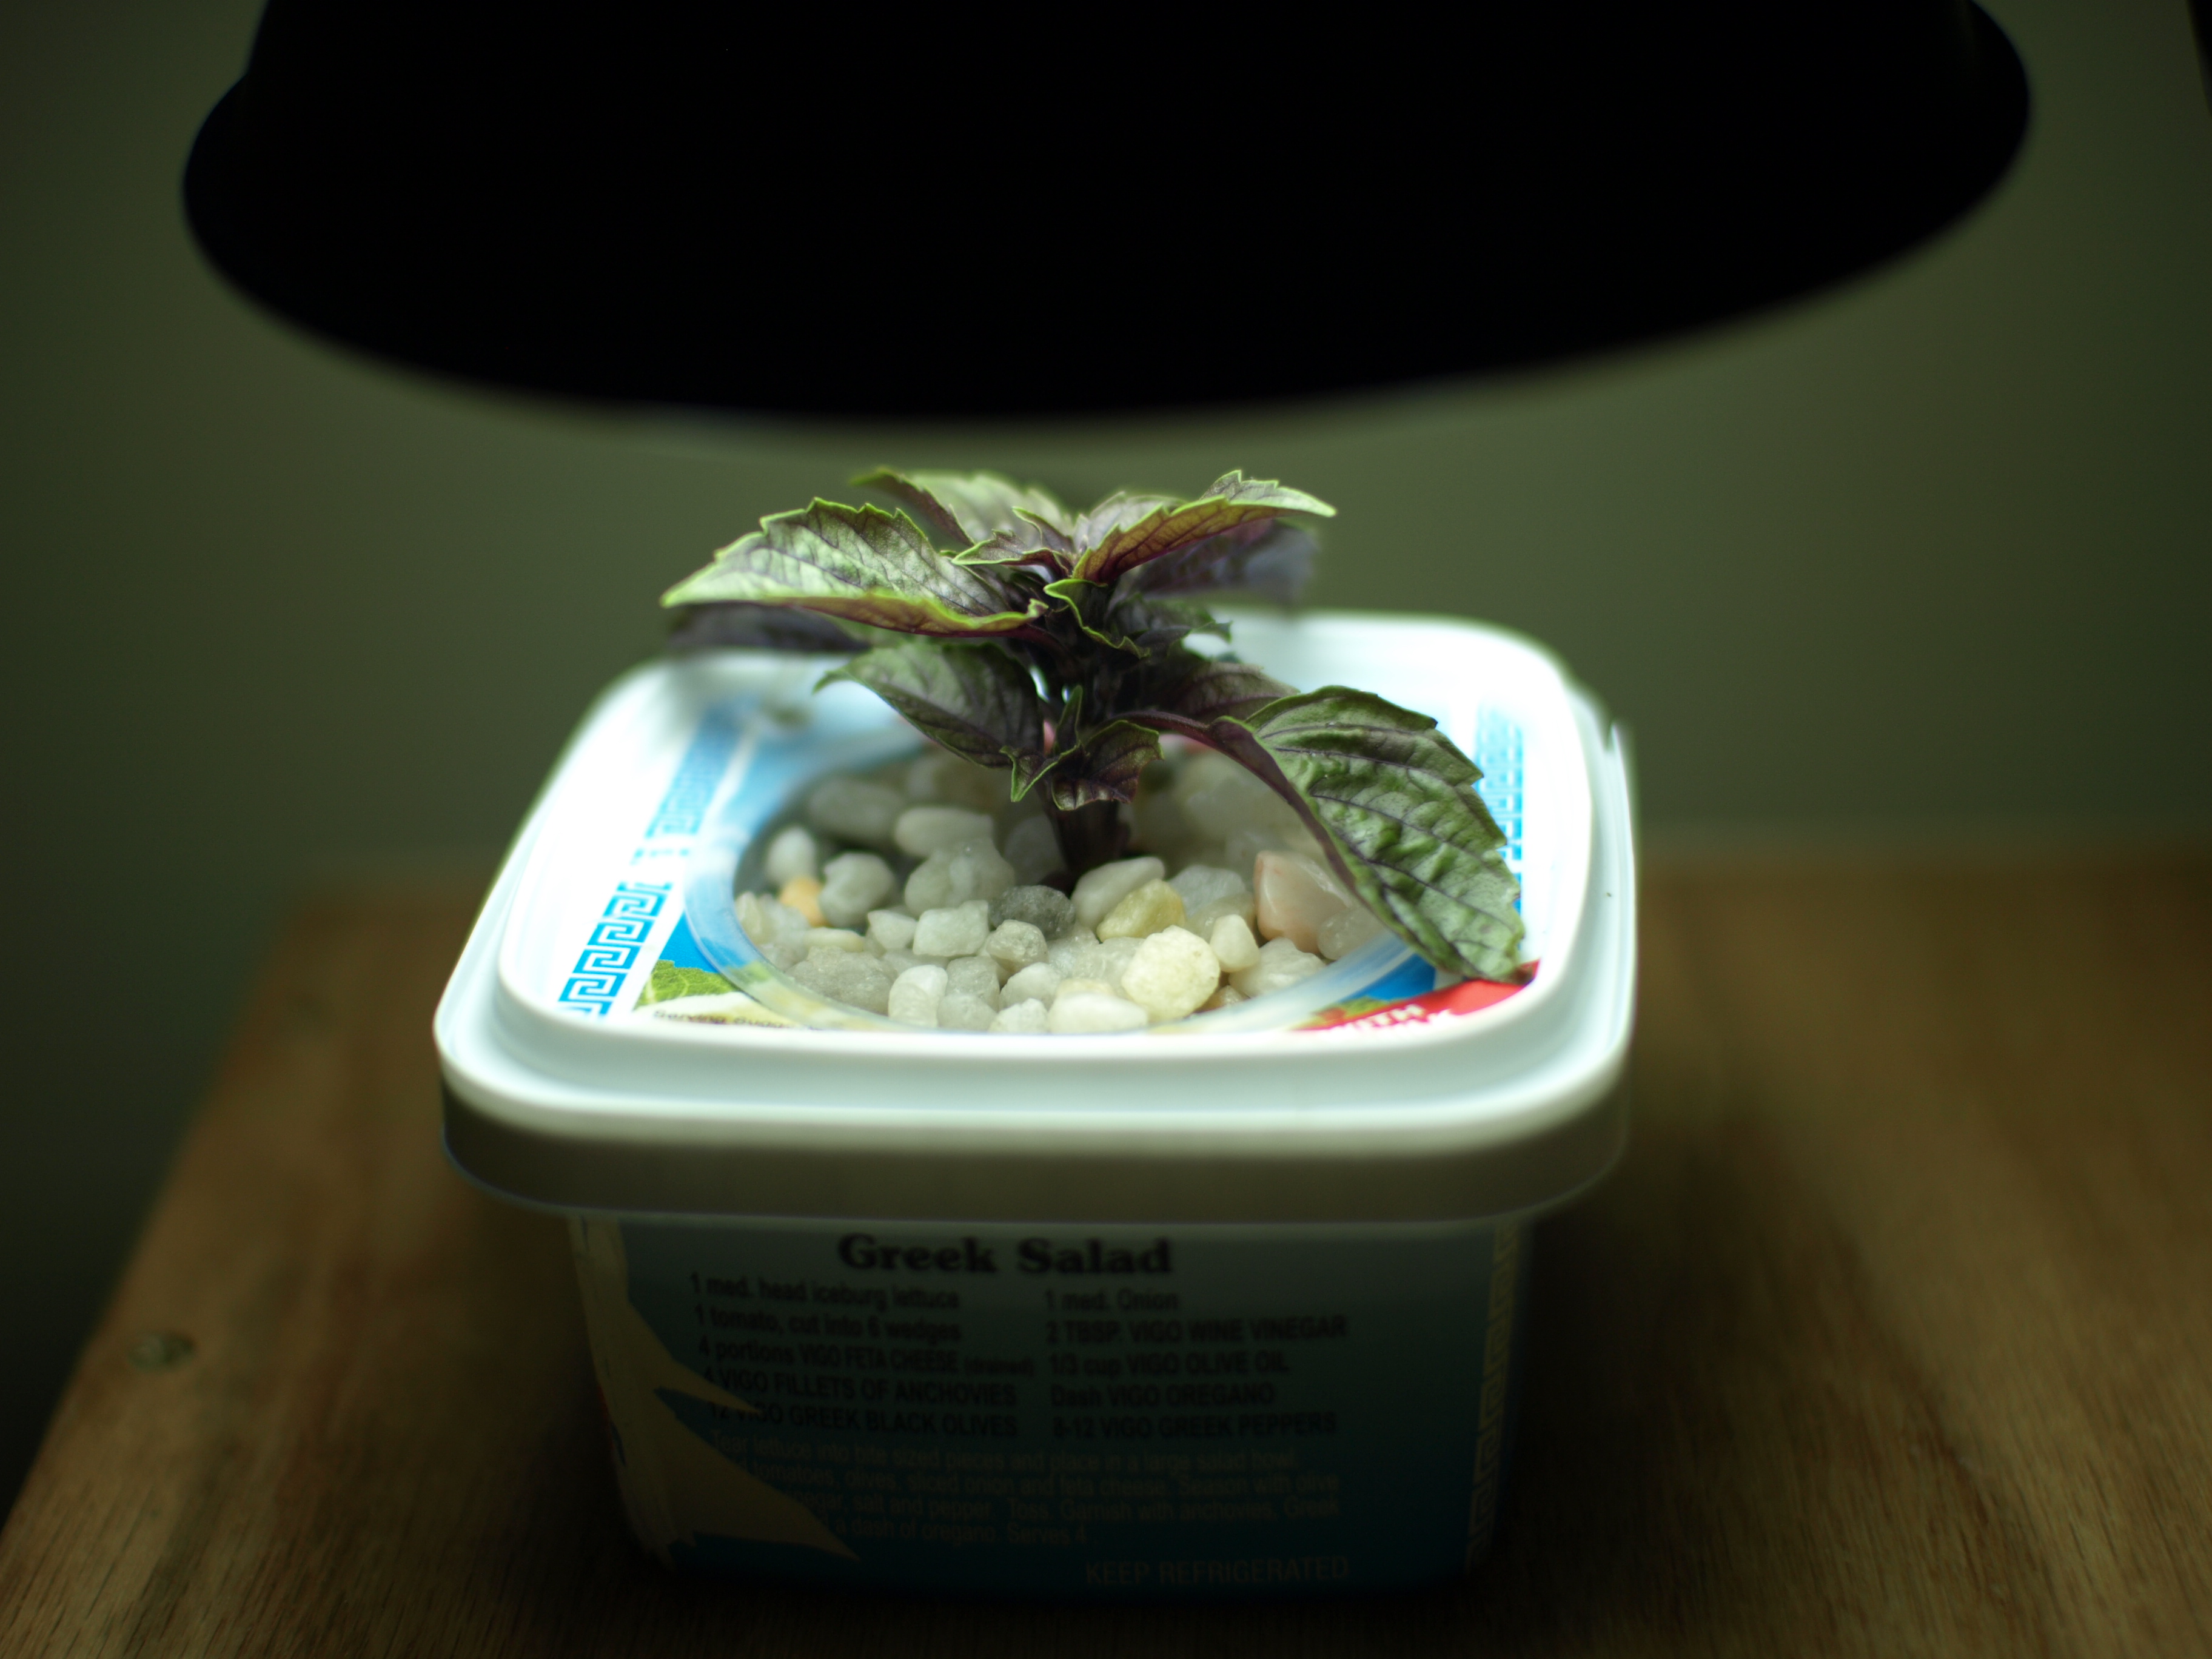
In the Kratky method, no pump is used. Instead, the plants sit with just the tip of their roots in the nutrient solution, and the upper part of the roots exposed to air. As the plant grows, it absorbs the water, and its roots grow longer as the water level subsides, ensuring that they are always exposed to the perfect amount of both air and nutrient solution.

What makes the Kratky method particularly appealing is that you only have to calculate your plant’s nutritional needs once when you first plant it. When you first fill the container, you give the plant enough nutrient solution to last its entire lifecycle from seedling to harvest, then leave it and watch it grow. Not having to adjust and refresh the nutrient solution throughout the plant’s life saves a lot of time and simplifies the process significantly.
Pros and Cons of the Kratky Method
What’s not to love about a passive method of hydroponics? There are certainly a lot of benefits to the Kratky method, but there are also some significant downsides to consider before diving in.
Pros
The Kratky method is an accessible introduction to hydroponic gardening that doesn’t require much equipment to get started. Some of the benefits that make it great for beginners are that it is:
- Very affordable – the Kratky method doesn’t require any pumps or other expensive equipment. In fact, many people use a simple mason jar to get started. This makes it a cheap way to grow hydroponically.
- No moving parts – this method doesn’t use any complicated parts, so you don’t have to be particularly handy to get it working.
- Low maintenance – the Kratky method is known as passive hydroponics or a “set it and forget it” system because once you set it up, you simply let your plants grow until it’s time to harvest them. There’s no need to change nutrient solutions like with other hydroponic methods. All you’ll need to do to maintain the system is clean your container between uses.
- Operates off the grid – because there are no pumps involved, the Kratky method doesn’t need any electricity. This makes it particularly appealing to those independent souls interested in self-sustainable and off-the-grid farming practices.
- Quiet – no pump means no noise! The Kratky method is a virtually silent setup.
Cons
As with any method, Kratky hydroponics isn’t ideal for every scenario. Some of the downsides include that it is:
- Not easily scalable – Kratky is great for hobby gardeners looking to feed themselves or their family but doesn’t expand well for those hoping to produce and sell food on a larger scale. If you’re a hydroponic market gardener, another method will give you a more control and a better yield.
- Vulnerable to pests – the downside of it being a quiet, still, low maintenance setup is that it can create an appealing environment for insects. Keeping the lid on is an important line of defense against unwanted visitors, but a few might still find their way in.
- Not suitable for large plants – the Kratky method is ideal for small plants like lettuce and herbs, which have short lifecycles and lots of leaves. It’s harder, but not impossible, to grow large fruiting and flowing plants like tomatoes and cucumbers because of how much space they need and the changes in their nutritional requirements throughout their lifecycle.
- Plant specific – you should only grow one type of plant per container in the Kratky method, because you’ll need to calculate the precise nutrients that that plant will need throughout its life. If you try to mix and match different types of plants in the same container, you will run into issues providing the correct blend of nutrients. So, if you like to grow a wide variety of different plants, plan to provide each one with its own container.
What You Can and Can’t Grow with the Kratky Method
In theory, you can try growing anything you want using the Kratky method. Like any hydroponic system, however, it is much better suited for certain kinds of plants than others.
What Can You Grow with the Kratky Method?
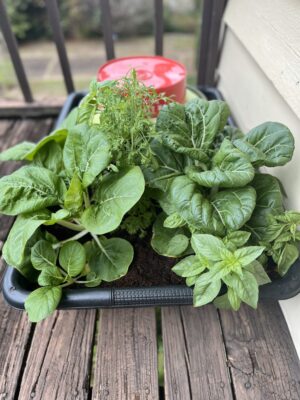
The Kratky method is ideal for growing small plants with short lifecycles. It is particularly suited for growing leafy greens and herbs.
If you’re getting started with the Kratky method, you’ll have the highest chance of success growing:
- Kale
- Spinach
- Lettuce
- Bok Choy
- Collard Greens
- Broccoli
- Basil
- Chives
- Dill
- Cilantro
- Endive
- Sage
What Can’t You Grow with the Kratky Method?
Unfortunately, the simplicity of the Kratky method means it isn’t suitable for everything. It is not great for growing:
- Large or long plants
- Anything that flowers or fruits
- Root vegetables
Large plants like tomatoes and cucumbers tend to be heavy drinkers, meaning that the container you’d need to grow them using the Kratky method would take up a lot of space. A head of lettuce will do well in a mason jar, but a tomato plant might need a whole tank. Growing tomatoes using the Kratky method is certainly possible, but it’s a pretty inefficient use of space. If you have your heart set on growing tomatoes and other big vegetables in a Kratky hydroponic system, try choosing smaller container varieties like cherry tomatoes.
Fruiting and flowing plants are hard to manage in a Kratky system because they need different nutrients during different phases of their lifecycle – one blend will be best for early leaves, and a different blend for when they’re ready to bloom. Because the Kratky method is set-and-forget, it isn’t designed for you to adjust the nutrient solution during a plant’s lifecycle. In fact, doing so would defeat the purpose.
Root vegetables like potatoes can also be grown using the Kratky method, but it will be harder to manage. Because most of a root vegetable will be hanging in your reservoir rather than poking up above it, it’s harder to protect it from excess moisture, root rot, and falling off into the container.
How to Get Started with Kratky Hydroponics
Now that you know what does well and what doesn’t in a Kratky system, you’re probably eager to get started!
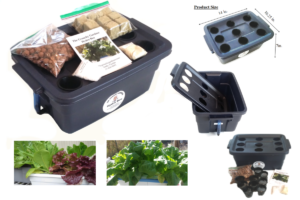
If you’d prefer to buy a kit, you can find simple ones online like this small jar-based option on Etsy. These can help take the guesswork out of purchasing materials and are an excellent way to dip your toe into hydroponics without investing too much time building.
However, one of the best aspects of the Kratky system is how easy and affordable it is to build! With just a simple container, net pot, some growing medium, and nutrient solution, you can put together your own hydroponic setup and get growing in less than an hour. So why not give it a try?
How to Build a DIY Kratky Hydroponics System
It’s easy and affordable to build your own Kratky hydroponic system. This can be a great way to get hands on with hydroponics, customize it to suit your space and needs, and learn the ins and outs of how your setup works before growing with it.
To build a DIY Kratky hydroponics system, you will need:
- A container with a lid – a mason jar or a 5-gallon bucket are two popular choices, but you can use a container of any size. Your container should be opaque to prevent algae and bacteria growing inside it and damaging your plant’s roots.
- Net pots – select a size appropriate for the type of plants you want to grow. Three-inch net pots are a popular choice.
- Growing medium – there are many to choose from, including sustainable and readily available coco coir.
- Hydroponic nutrients – look for a formula that is designed for the type of plant you plant to grow.
- A pH meter or test strips
- A pH control kit
- A drill and drill bit/hole saw with a diameter slightly smaller than your chosen net pots. Alternatively, you can use a utility knife to cut the hole.
To set up your Kratky hydroponics system:
- Drill a hole in the container’s lid using your drill and hole saw. It should be slightly smaller than your net pot, so that when you insert the net pot it fits snugly without falling through. You can add as many holes as you have space and net pots – a mason jar typically only has room for one, but you can fit as many as six in the lid of a 5-gallon bucket.
- Fill the container with water, leaving some space at the top for plants. Distilled water is best, but tap water is also fine. If you use tap water, it’s a good idea to let it sit for 24 hours before using it to let the chlorine evaporate off.
- Add your hydroponic nutrients according to the instructions on the bottle. Stir them in.
- Measure the pH of your solution using your pH meter or test strips. A pH of between 5.5 and 7.0 is ideal for most plants.
- Adjust the pH using your pH control kit if it falls outside of the ideal range.
- Place the lid on the container.
- Place a net pot into each the hole in the container’s lid.
- Add your plant and growing medium to the net pots. Check to make sure that part of the plant’s roots hang freely in the air below the lid, and the tips sit in the nutrient solution.
Now you can sit back and watch your plants grow in your DIY Kratky hydroponics setup! You won’t need to change or replenish the water, just wait until the plant is ready to harvest and enjoy.
Learn More About Hydroponic Growing
The Kratky method is just the tip of the iceberg when it comes to hydroponic gardening – there’s always something new to learn! That’s why Ponics Life is proud to offer comprehensive guides and advice to help you out, whether you’re new to hydroponics or a seasoned grower.
Never miss out on new guides and resources when you join the Ponics Life Club. Sign up for free and you’ll receive a guide to hydroponics, plus access to webinars, courses, and exclusive products to help your knowledge grow and your garden thrive.
Visit the Ponics Life blog to sign up today!