If you’ve ever seen a big floating raft with plants on top and thought, “I think I can build that,” well, the answer is “Yes, yes you can.” BUT – and it’s a big but – there are some things you’ll need to consider first. Here’s what I’ve learned through some good ole trial and error.

How Hydroponic Raft Systems Work
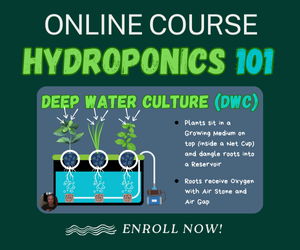
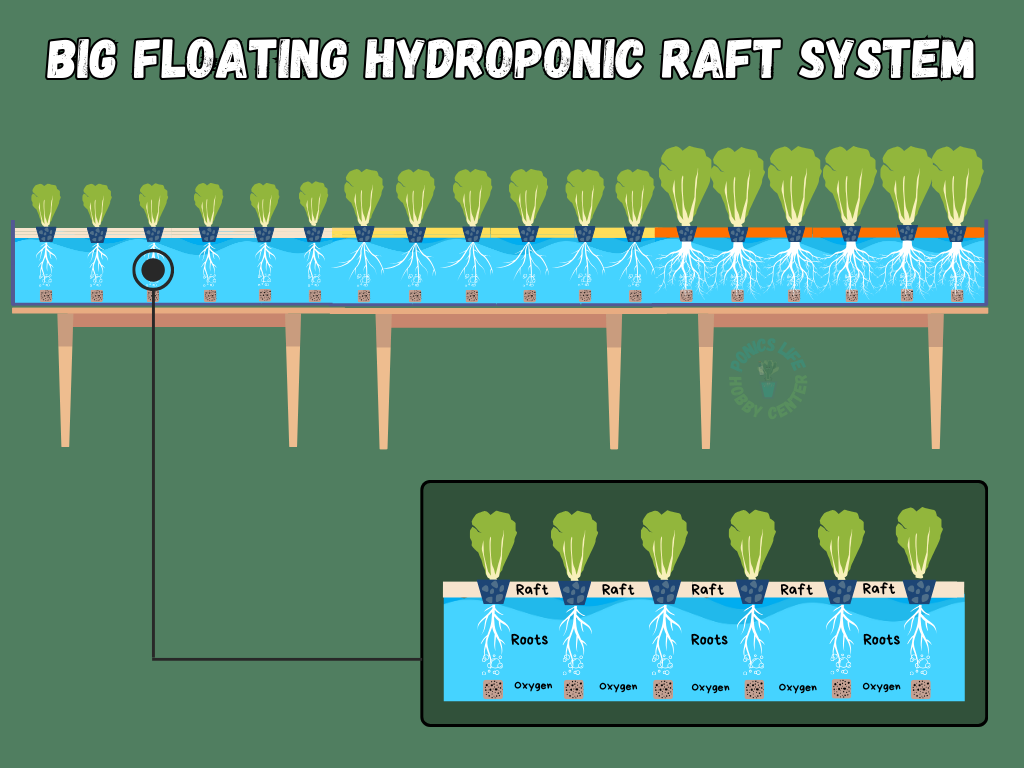
For those new to hydroponics, floating raft systems (sometimes called raceways) are a form of Deep Water Culture (DWC) where the plant roots dangle directly into nutrient-rich water. The plants sit in net cups (or something similar) on top of a floating foam raft, allowing them to absorb water and nutrients while getting plenty of oxygen to their roots through air stones or other aeration methods.
If you’d like to learn more about basic Deep Water Culture (DWC) systems, you can check out our Deep Water Culture guide, explore the Hydroponics Hobby Center, or take our online course Hydronics 101: Learn, Design, and Build Your Own System, where I demonstrate Deep Water Culture along with other techniques. But let’s get back to the topic at hand!
My First Attempt
I’m no stranger to raft systems. I’ve worked with them before and built a few smaller ones, but I decided to go big and build a 16-foot raft system using some extra wood I had left over from tearing down my deck. And well… I definitely learned a few lessons. My first attempt wasn’t a total disaster, but it was far from ideal.
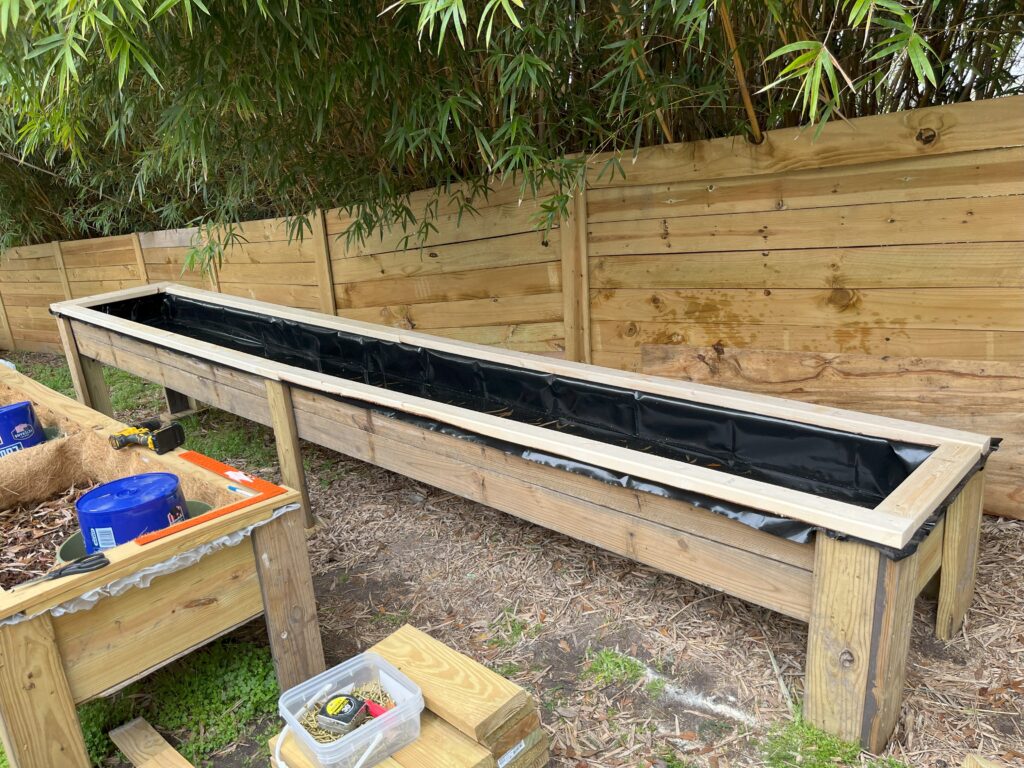
The design: I stacked two 2x6x16s on top of each other for the sides, used 2x6s for the bottom supports (reinforcing them as much as I could), and then laid the liner over the frame. I also added 2x6s for the legs and used untreated 2x4s around the top edges to keep the liner in place and allow for overflow drainage during rain. For the raft itself, I cut holes in polystyrene foam boards for the net cups. To aerate the water, I ran an extension cord across the yard and set up an air stone/air pump on top of a rock, protecting it with a bucket.
The placement: This is where things really went wrong. I placed the system near the edge of my fence, right under a wall of invasive bamboo. As a result, half the system didn’t get enough light, and bamboo leaves got everywhere. The whole thing turned into a messy, gross, frog-happy oasis! I tried putting up some netting around it to keep the bamboo out, but by then, the whole thing was looking pretty shabby (did not take pictures of it’s dying days unfortunately).
The End Result: All in all, it really wasn’t my best idea and I only managed to get one growing season out of it. And yes, I kind of knew from the start it wasn’t going to last long, but I just didn’t expect it to fall apart as quickly as it did. But honestly, 16 feet was way too big to manage anyway – lesson learned.
The Final Product
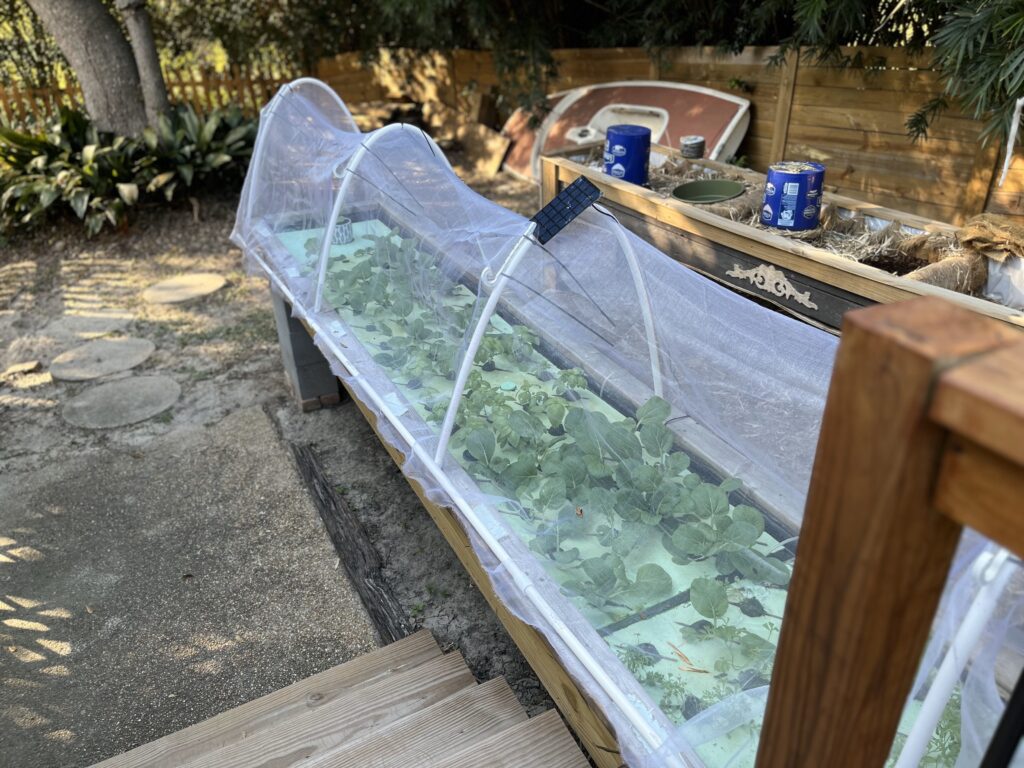
Once the first version started falling apart, I tore it down and rebuilt it again with some modifications. And I’ll say that the new system has turned out exactly as I imagined, and so far, it’s been pretty close to perfect. Trial and error process Baby!

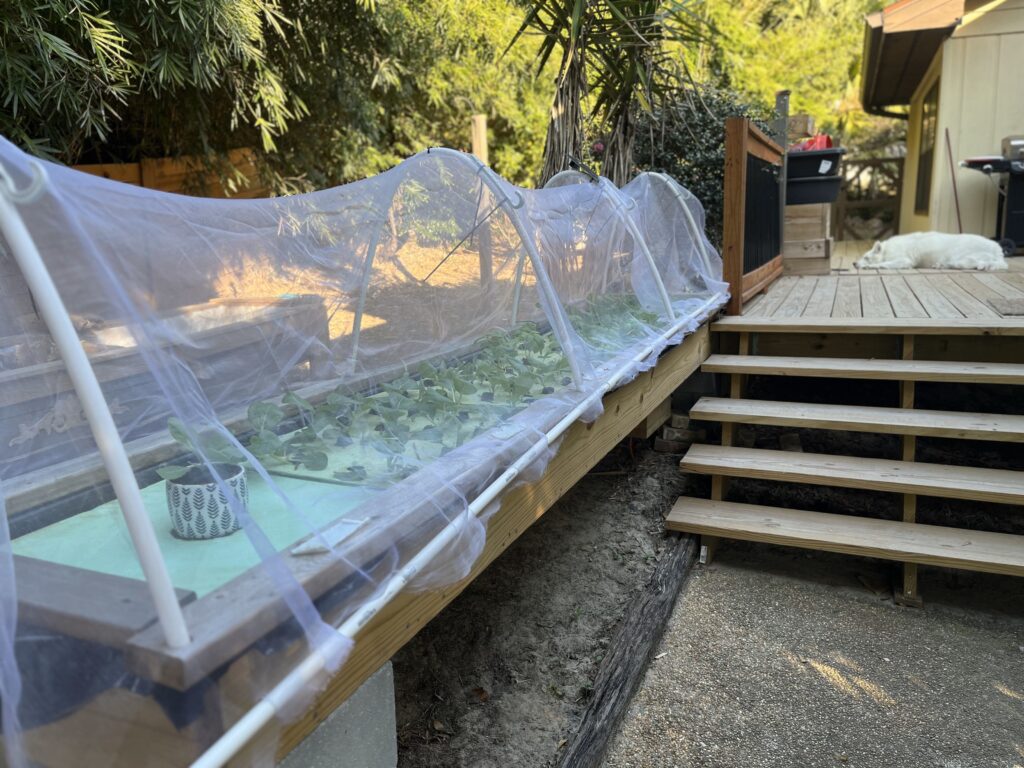
The Design: The overall design didn’t change much, but I can certainly say that I made some better choices this time around. I scaled it down to 12 feet and used 2x10s for the sides. Instead of legs, I placed the system on top of some cinder blocks for stability. I also reinstalled the protective netting to keep debris (especially bamboo leaves!) and pests out (mainly frogs!).

The Placement: I found a much better spot for the system this time around. It gets plenty of sunlight in the morning and afternoon, it’s right next to my deck for easy access, and I don’t have an extension cord running across the yard anymore (so at least it’s not in danger of getting weed wacked). Plus, it’s far enough from the bamboo, so no more leaves raining down into the system.

How to Build Your Own System
If you want to build your own system, I highly recommend starting with an 8-foot or smaller setup for your first attempt, maybe even 6 feet. But if you think you’ve got the general idea down and you’re ready to go big (because frankly, you’re a little stubborn), no problem, here’s everything you need to know to get started on a 12-foot DWC raft system:
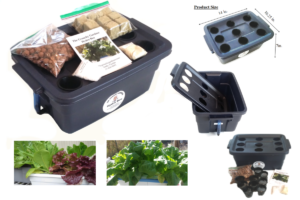
Gather Your Materials: You’ll need two 2x10x12s, one 2x10x6 for the width (you’ll be cutting this one up for the sides), a couple 2x6x8s (for the base underneath), and some cinder blocks for the wood box to sit on. Get a pond liner that’s at least 6 feet longer than the length of your system (to account for the sides and have some wiggle room). You’ll also need two untreated 2x4x12s and one 2x4x6 for the edges, polystyrene foam boards for the rafts (theses are sold as project boards at most hardware stores), and a whole lot of net cups (I’ll let you do the math on that one). Oh, and don’t forget the air pump and everything needed to oxygenate the system!
Pick a Good Spot: Location matters! Choose a spot that gets plenty of sunlight and is free from falling debris like leaves. Keep in mind where you’ll run your power from, since you’ll be using an air pump (or water pump for circulation).
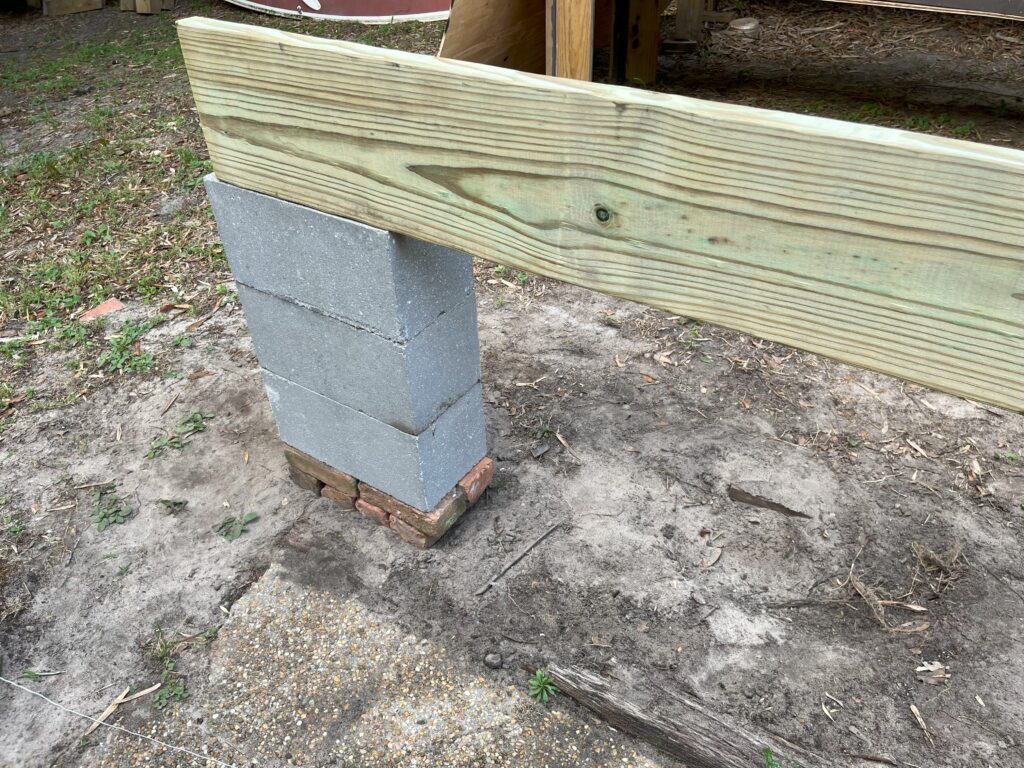
Build Your Piers: Stack cinder blocks to your desired height (around 3 feet works well), and use a line and string level to ensure every pier is even. You may need to dig or add shims to get things perfectly level (or add some bricks as I did). Don’t skip this step – it’s critical for the stability of your system.
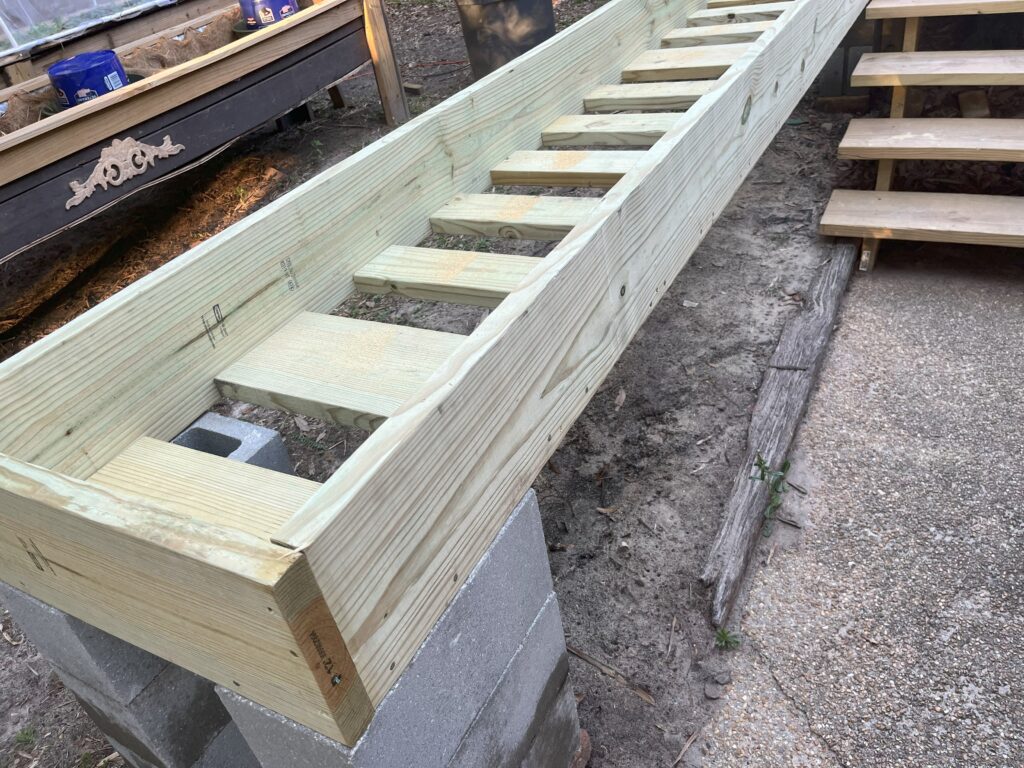
Build Your box: Construct the frame on top of the cinder blocks using 2x10s for the length and width. Be sure to use treated wood for the structure, as it won’t come into contact with your water. For the base support, add 2x6s or leftover 2x10s spaced every 6 inches or so. Then, secure everything with screws and nails (I did two screws and 1 nail for every connection). Finally, lay plywood on top and nail it down (plywood doesn’t need to be super thick).
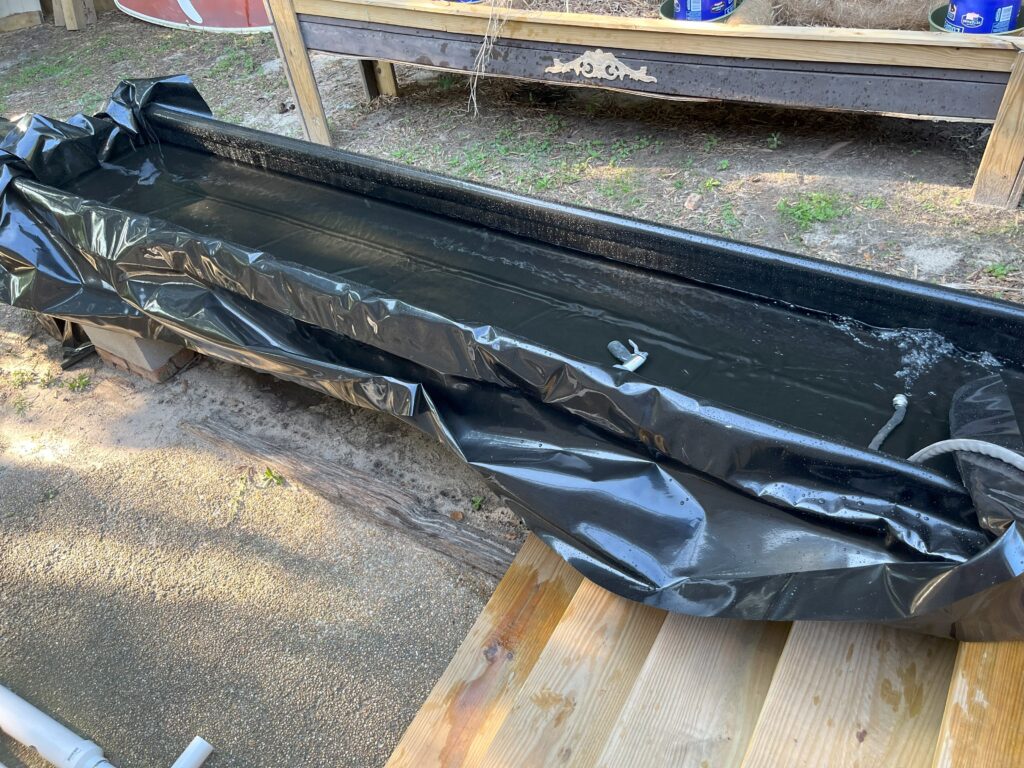
Install the Liner: Once your box is built, carefully place the liner inside. Make sure there are no screws or splinters poking out, as these can puncture the liner. It can be frustrating to get the liner to fit into the corners neatly, but take your time and make it work as best you can. Make sure the liner is large enough to cover the whole system and drape over the sides (when in doubt, get a liner that’s about a third bigger than what you think you need). Lastly, go ahead and fill up your system. Make sure there are no leaks and everything looks good.
Put Your 2x4s on top: Screw your 2x4s on top of the liner around the edges. This will hold the liner in place and keep the rafts inside the system when it rains. Water will simply flow underneath the 2x4s and out of your system. After you have them on, go ahead and cut the excess liner off.
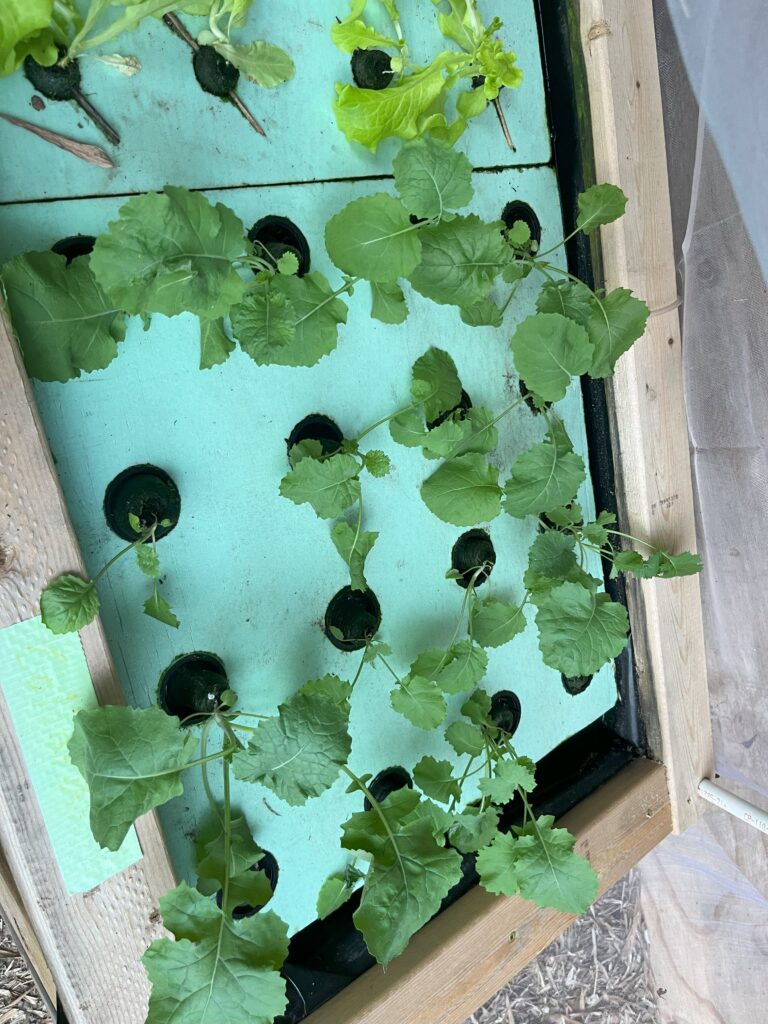
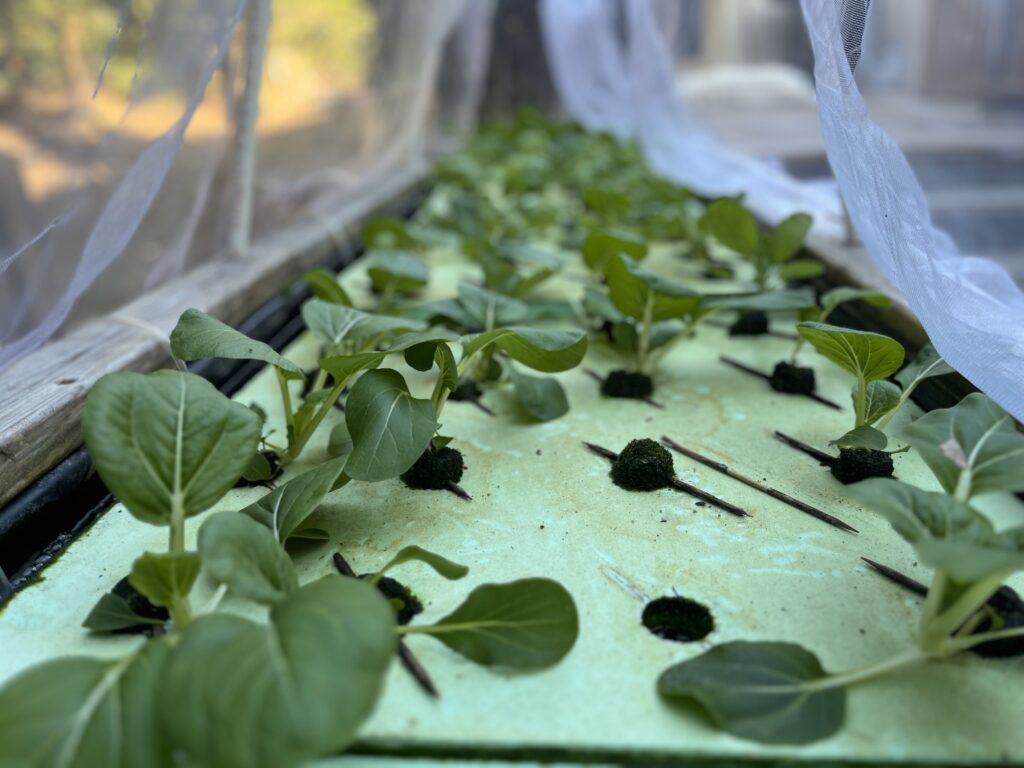
Cut and Add your Rafts: Cut holes in the foam boards for the net cups and trim the boards to fit snugly in your system. Once cut, put the boards in your water and transfer in your plants (or directly sow your seeds).
Add aeration: Once everything is set up, go ahead and set up your air pump (I built wooden box for mine and attached it underneath) and connect/add in your air lines and air stones. Space them evenly throughout the system. For a system this big, you’ll wanna provide as much oxygen as possible. I used a 70L/minute air pump with 8 outlets and I still felt that I should have gone stronger.
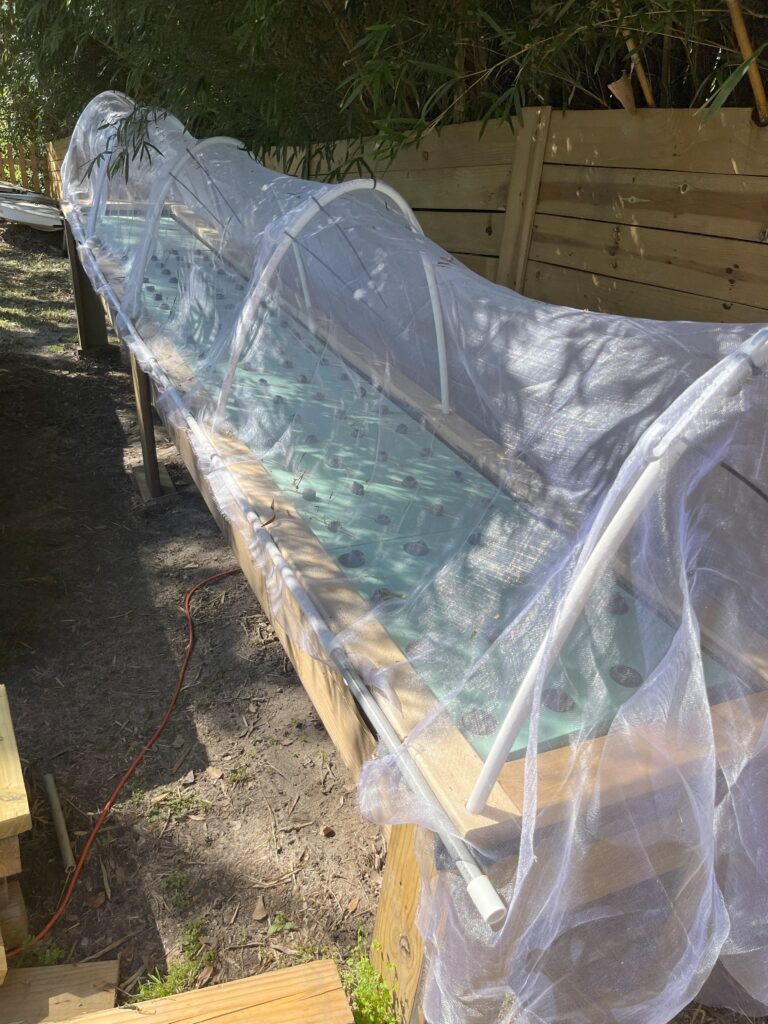
Add protective netting (optional): To protect your plants, you can build a dome using PVC pipes to arch over the system. Simply put some screws in the top of your 2x4s (that partially stick out), insert your PVC pipes (1/2 inch will work fine) over them, and then bend them over to the other side. Once you have your arch, drape netting over the top, securing it with zip ties and staples. For easy access, attach hooks to the netting so you can lift it when needed.
Tips and Tricks
- Build a box underneath your system to house your air pump and keep it dry.
- Consider adding a small solar water pump to circulate the water during the day – they can be as cheap as $10.
- HDPE rafts are a great investment if you plan on using the system long-term.
- Oxygenation is crucial! Make sure your air pump is powerful enough for the size of your system.
- Use powdered nutrients to maximize efficiency, especially in large reservoirs like this.
- Try incorporating Floating Pots into your system for added versatility.
- Always think about how your system is going to get power as you’ll most likely have to run an extension cord to it.
FAQs
1. What is a floating raft hydroponic system?
A floating raft hydroponic system is a variation of Deep Water Culture (DWC) and is a type of hydroponic setup where plants grow in net cups (or something similar) supported by floating foam boards (rafts) on top of a nutrient-rich water reservoir. The plant roots dangle directly into the water, absorbing nutrients and oxygen through aeration.
2. How big should my first outdoor raft hydroponic system be?
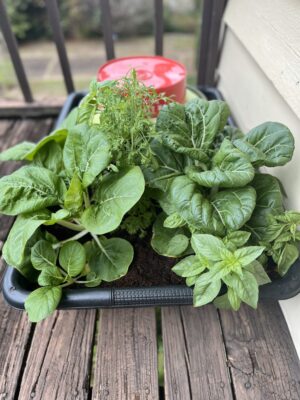
For beginners, I recommend starting with a smaller system, around 6 to 8 feet. This will allow you to manage the system more easily while learning the basics. Once you’re comfortable, you can scale up as needed. Additionally, you can always try doing this on a much smaller scale using a plastic tub or container.
3. What materials do I need to build a big floating raft system?
You’ll need untreated wood (2x10s and 2x6s for the frame), food-safe pond liner, cinder blocks, polystyrene foam boards, net cups, and an air pump with an air stone for oxygenation. Additional optional materials include PVC piping for a protective netting dome and a solar water pump for water circulation.
4. What kind of pond liner should I use?
Preferably, use a pond liner made of LDPE or HDPE that is around 20 mil thick and UV safe. This type of liner will offer durability and protection from sunlight. Most liners will cost between $20 and $100, depending on size and quality.
5. Do I need an air pump for a floating raft system?
Yes, an air pump is crucial in a floating raft system. The air pump ensures the water is oxygenated, which is vital for the health of the plant roots submerged in the water. Without proper oxygenation, your plants may suffer from root rot or stunted growth.
6. What’s the best way to circulate water in raft hydroponics?
In addition to an air pump, you can install a small solar-powered water pump to keep the water moving, which helps distribute nutrients and oxygen more evenly throughout the system.
7. How do I add nutrients to my raft system?
To add nutrients, mix them in a separate bucket of water first. Once fully dissolved, distribute the solution evenly as you pour it into your system. This ensures the nutrients are well-mixed and properly dispersed throughout the water.
8. How often do I need to change the water in my raft system?
Monitor the pH and electrical conductivity of the nutrient solution every few days (if you’re motivated) or once every couple of weeks (if you’re a little bit lazy, no judgment here). If needed, add a small amount of fresh solution (up to 10% of the original volume) every few weeks. Replace the nutrient solution every few months by siphoning it out manually or draining it with a sump pump. Clean the system with a 10% bleach solution.
9. Is rain an issue for an outdoor raft system like this?
No, rain is usually not an issue. During heavy rain, the system will fill up and then overflow at the edges. While the rain may slightly dilute the nutrient solution, it typically requires only minimal pH and electrical conductivity (EC) adjustments, if any. As a precaution, test your water afterward to see if any corrections are necessary.
10. How do I prevent overflows during heavy rain?
By securing the liner with 2x4s along the edges, rainwater can pass underneath the boards and out of the system without displacing the rafts. This will help keep your rafts stable and your liner in place.
11. How much sunlight does the system need?
Your floating raft system should be placed in an area that gets plenty of sunlight, ideally 6-8 hours a day. Make sure the spot is free from falling debris and provides easy access to power if needed for the air pump.
12. How do I keep debris like leaves and insects out of my system?
You can install a protective netting dome using PVC pipes to create an arch over the system. Drape netting over the frame to keep debris, pests, and unwanted animals out while still allowing light and airflow to your plants.
13. Can I use repurposed wood for the structure?
While it’s possible to use repurposed wood, it may not last as long as treated or new wood. For a long-lasting system, use treated wood for the structure that won’t come in contact with the nutrient solution. Avoid wood that’s prone to rot or damage.
14. How do I ensure my system is level?
Use cinder blocks to elevate your system and stack them to the desired height (around 3 feet is ideal). A line and string level can help ensure each pier is level, and you may need to adjust with bricks or shims to achieve balance.
15. Can I grow any type of plant in a floating raft system?
Leafy greens like lettuce, spinach, and herbs thrive in raft systems. While it’s possible to grow fruiting plants like tomatoes and cucumbers, they may require more support and careful nutrient management to succeed.
16. What are floating pots, and how do I use them?
Floating pots are a way to grow plants in hydroponic systems with even more flexibility. You can place them in the rafts or allow them to float freely on the surface of the water. They’re a great option if you want to diversify the plants in your system.
17. Is it necessary to use powdered nutrients?
Powdered nutrients are a cost-effective and efficient option for large hydroponic systems. They dissolve easily into the water and allow you to customize your nutrient mix for the best plant growth. However, liquid nutrients can also be used.
18. How do I control mosquitoes in my floating raft system?
Even with some form of water movement, mosquitoes can still find ways to breed in your system. To prevent this, you can use mosquito dunks, which are safe for plants and non-toxic to humans and pets and are very effective. Additionally, consider using a small solar-powered water pump to create extra water movement, which will help deter mosquitoes from laying eggs.