Author: Max Baldwin

In a grow tent, you control all the variables. The amount of nutrients a plant receives, the amount of light your plants receive, the intensity of that light, and so, so much more.
What’s even better, however, is a variety grow tent, where all of these variables are multiplied. One where each individual plant system receives exactly what it wants and needs to grow all under one roof. And although “variety” may sound a little intimidating, I promise, it has some pretty enormous benefits and the payoff is huge!
What is a Variety Grow Tent
A variety grow tent — sometimes called a multi-chamber grow tent — is different than a general population grow tent. While a general population tent has conditions that are comfortable for many plants — basically one big tent with a single light and several plants — a variety grow tent has separate grow areas, where, as previously mentioned, you control all the variables to meet the unique needs of the plant.
So while a general population grow tent has specifications that are intended to meet the needs of one particular plant species, a variety grow tent has different chambers, created by dividers, with different or similar light cycles as the other chambers in the same tent.
The basic idea is that there are variables in one chamber that you can change to be specific to one plant, but in the same tent. And of course, there will always be variables that will be the same across the whole tent — such as temperature and humidity — but for the most part, everything is manipulated by you, the grower.
My Variety Grow Tent
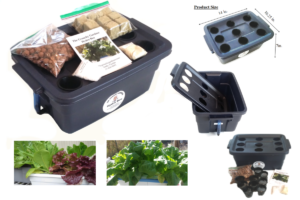
My variety grow tent is mostly comprised of plants using the hydroponics Kratky system. It is simple yet effective. And while I do have an air pump for my larger bucket containers, technically making them deep water culture (DWC), I found that I am getting great results by just doing a more sophisticated version of the Kratky method.
The Tent
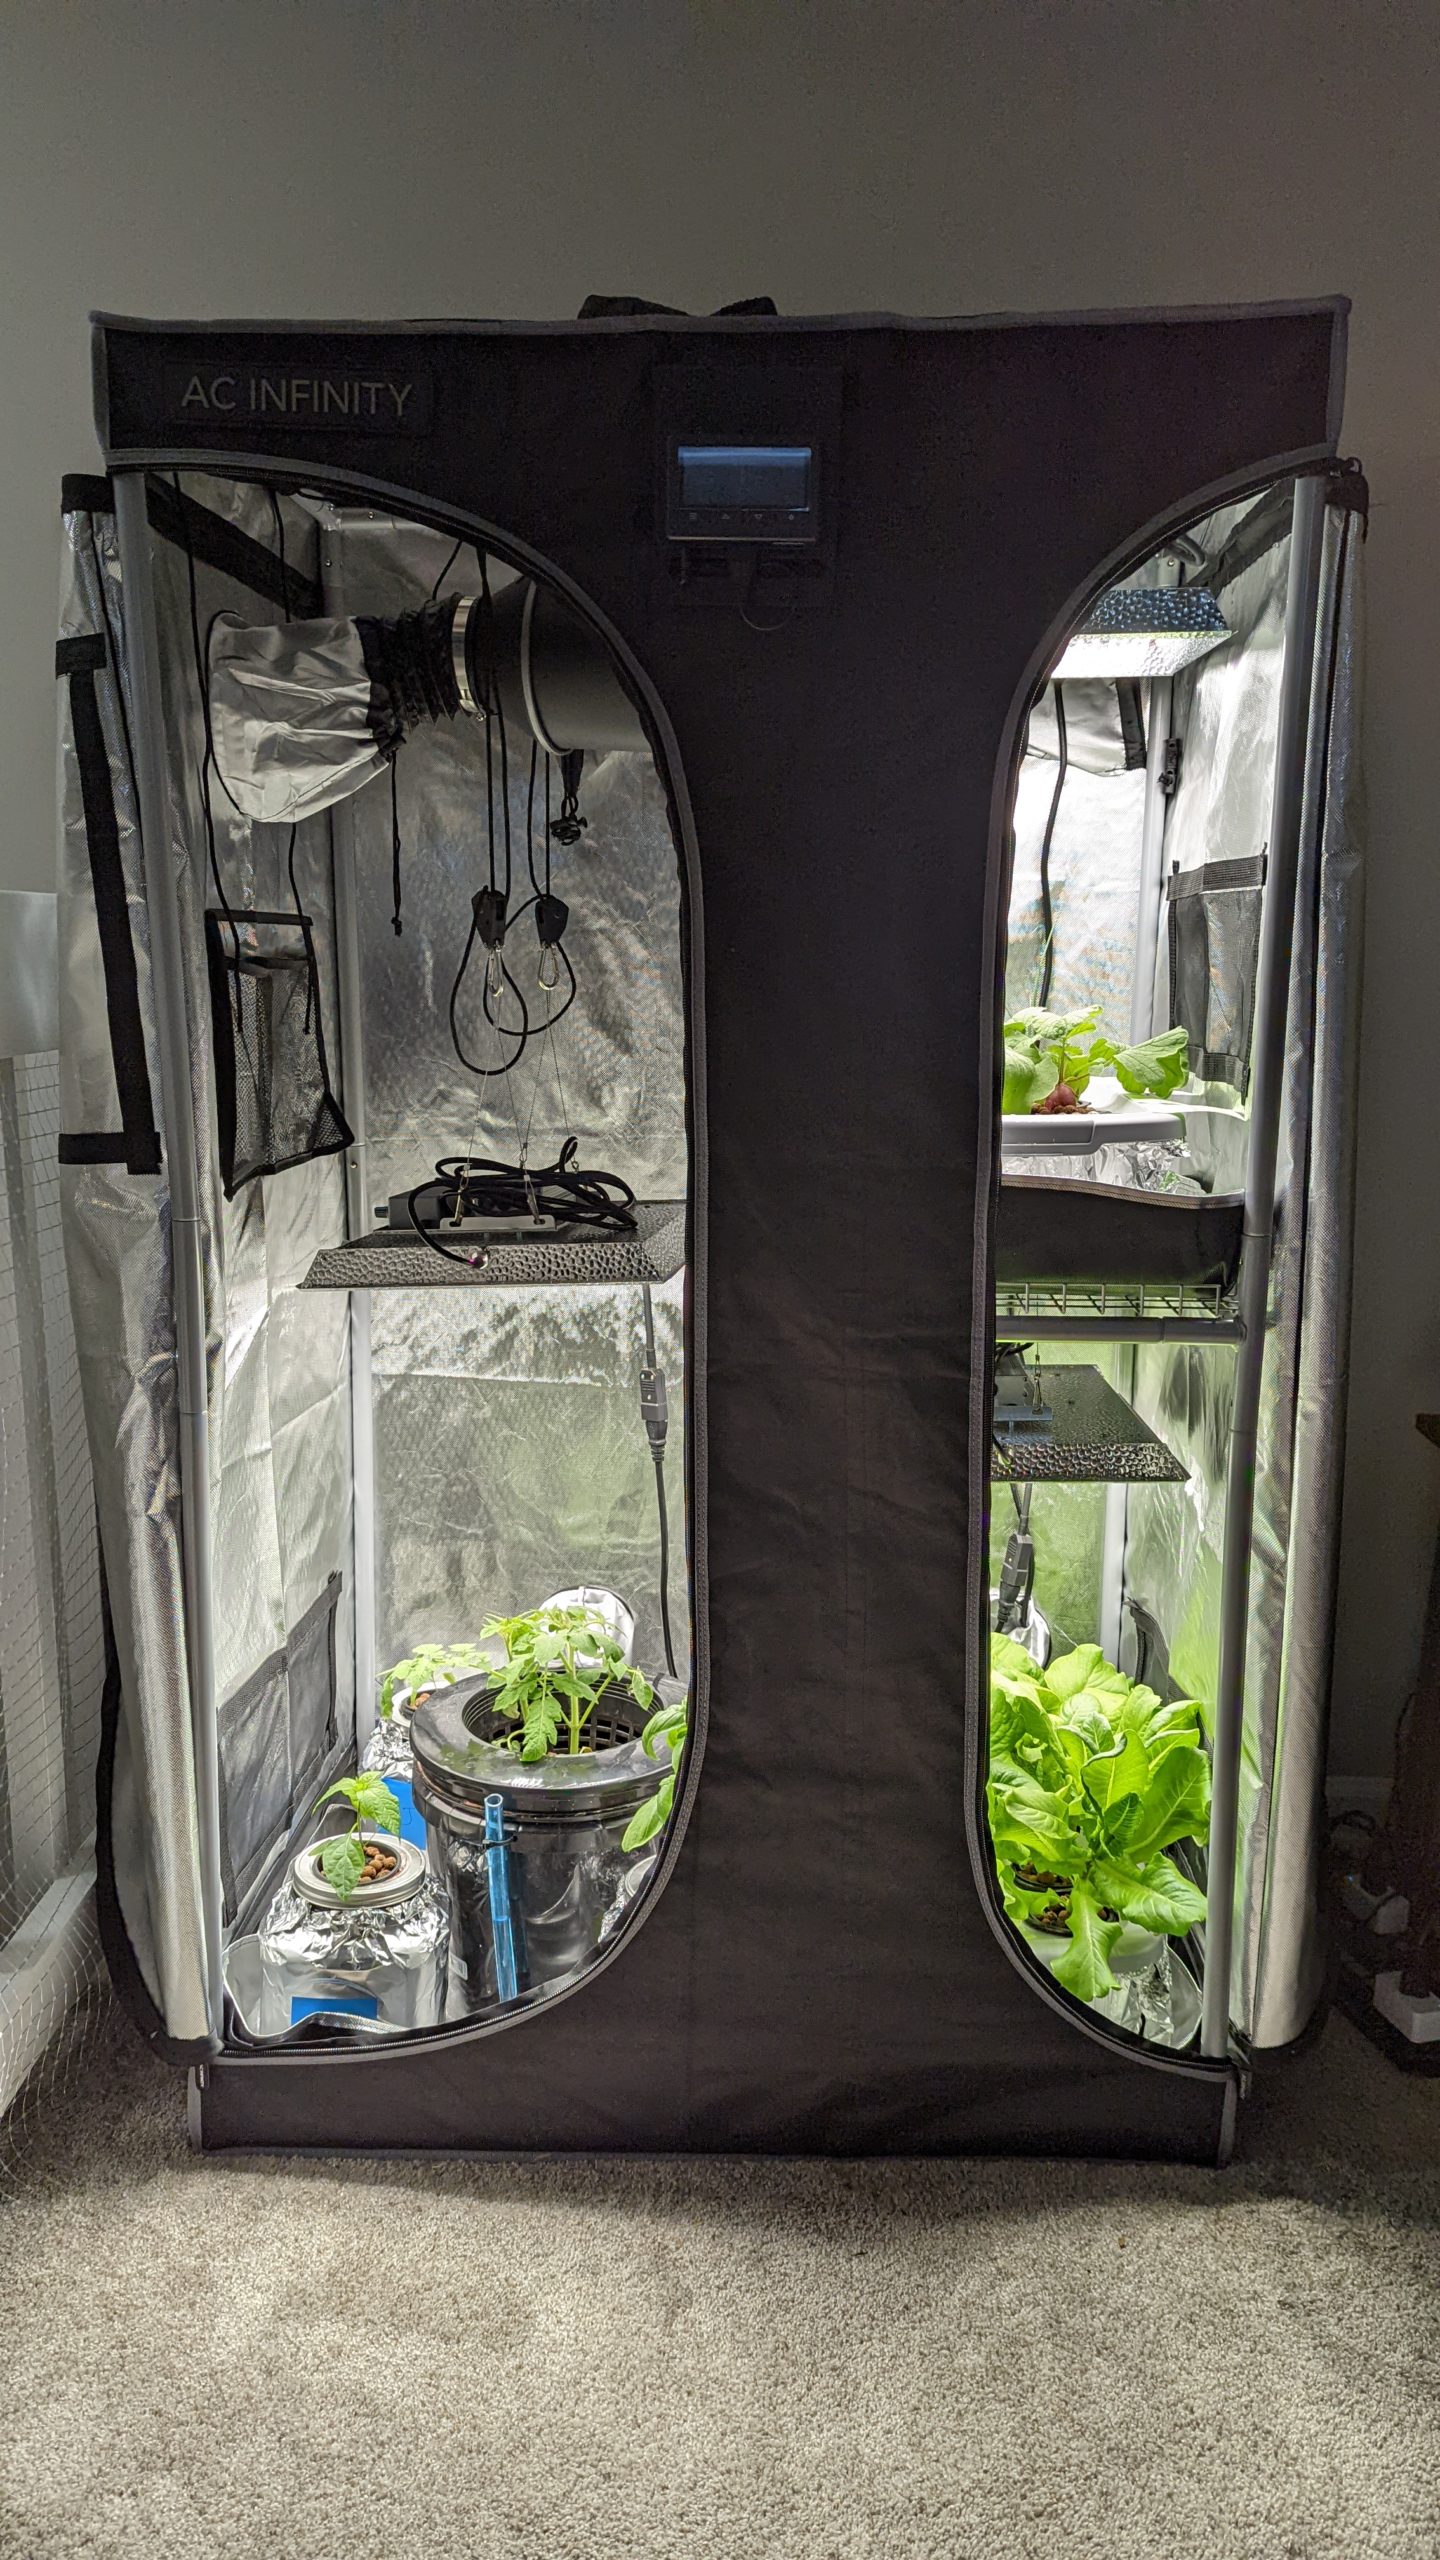
It all starts with the tent. My tent is a three-by-two, two-in-one, AC Infinity grow tent. And while I would love to have their five-by-two tent, unfortunately, I lack the additional space. But having the second and third chamber — one on top of the other — really allows me to get the most of the little space I have.

While VivoSun is a good alternative to AC Infinity (especially If you are looking to save a little money on your tent) and they make great two-in-one tents, I went with AC Infinity because I wanted a “smart tent.” The AC Infinity tent comes with a mount for a tent controller that displays the temperature and humidity in the tent. The controller comes with an AC Infinity inline fan system and you can also Bluetooth pair the controller with the AC Infinity app on your mobile phone and easily observe the readings.
The main thing that makes the extra money worth it — aside from the overall quality of the tent — is the fact that the app keeps data over time. So I can look at the temperature and humidity over the last day, week, or month, which really helps when you’re trying to troubleshoot issues related to temperature and humidity. It also helped me understand what my fan settings should be to control the temperature and humidity in the tent.
I tend to stay away from the combo or starter deals for grow tents just because they tend to include things that are pretty unnecessary for starter tents, especially when you’re just growing fruits and vegetables.
You can save a lot of money by just buying what you need. And with that extra money you saved you can invest in better, more important parts — like a better quality tent or more lights.
The Lights
The lights are one of, if not the most important parts of your grow tent. And while this part can seem intimidating, it’s really not. Quality light is actually pretty easy to come by, and if you’re just growing as a hobby, I promise, you don’t need crazy, expensive lights.
I have three chambers in my variety grow tent, with one light in each chamber. Each one of my lights is Mars Hydro TS 600 90 watt light. One of my favorite parts about these lights is that they come with the rope and pulley system, as well as very clear instructions on how to install it.
This rope and pulley system helps move the light vertically in my main grow chamber. When my plants are young, I lower the light so the young plants don’t get all long and leggy from chasing the light. Additionally, as these are good quality lights, each one also has a knob to allow you to adjust the intensity. I get amazing results and full coverage with every grow.
With all of these lights running at once, you might have some concerns about your electric bill. However, it’s a common misconception that grow tent lights will skyrocket your electric bill, or that you would have to be some sort of madman to have more than one light. While yes, my electric bill did go up, of course it did, these three lights draw less power than a desktop computer. Just some perspective.
Another concern I want to address is “light leak.” Because a variety tent uses reflective dividers to make individual chambers, you might think that the seal between each chamber needs to be perfect. It does not. All three chambers in my tent are on different light cycles and none of them have had issues.
They all turn on at the same time during the morning, and they all turn off at different times at night. Light does leak between the chambers when the first chamber goes dark. So have no fear. There is no cause for concern. In my experience, the plants do not chase this low light. Even as a sprout. Consider it more of a sundown than anything.
Handling Light Cycles
Each one of my variety grow tent’s chambers has its own light cycle. They all turn on at 8 am each morning and turn off at different times at night. Simply put, the light cycles are based on what kinds of plants are growing in the chamber and also what state those plants are in.
When plants are seedlings, I usually give a longer light cycle. Between 18 to 20 hours (Although lettuce varieties, basil and other leafy greens get longer cycles). When plants fruit or flower, I usually end up lowering their light cycle. I never go below 15 hours of light.
All of this is made possible by Wyze Smart Plugs. They are single outlet smart plugs that connect to your WIFI. Wyze has an app where you can pair them with your phone and set timers for each plug, allowing you to adjust when they turn on and when they turn off. The app also provides data on how long your lights are on and off. These were a great addition to my whole smart tent setup.
Grow Containers
I have a couple of different kinds of grow containers. Some are homemade. Some are household items. It’s important to remember here that hydroponic plants will only grow as large as their containers. So as an excessive example, if you try to grow an oak tree in a mason jar, you’re gonna get a really, really tiny tree.
Buckets
In my main chamber, I have a 3-gallon DWC bucket that I use for larger plants like tomatoes. Rather than a 5-gallon DWC bucket, this 3-gallon bucket gives larger plants just the right amount of space they need to grow and saves me room in my limited-space grow tent. Because the bucket itself is shorter, it gives my larger plants more space to grow vertically. And while it has all the hookups for DWC, I don’t find them necessary with every grow. This smaller bucket also allows me to include other plants in my main grow chamber.
Storage Container Crafting
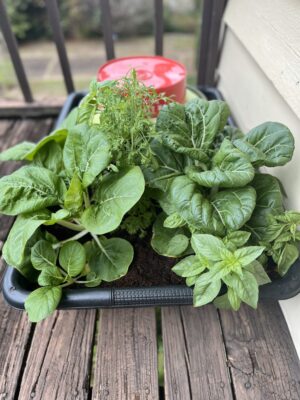
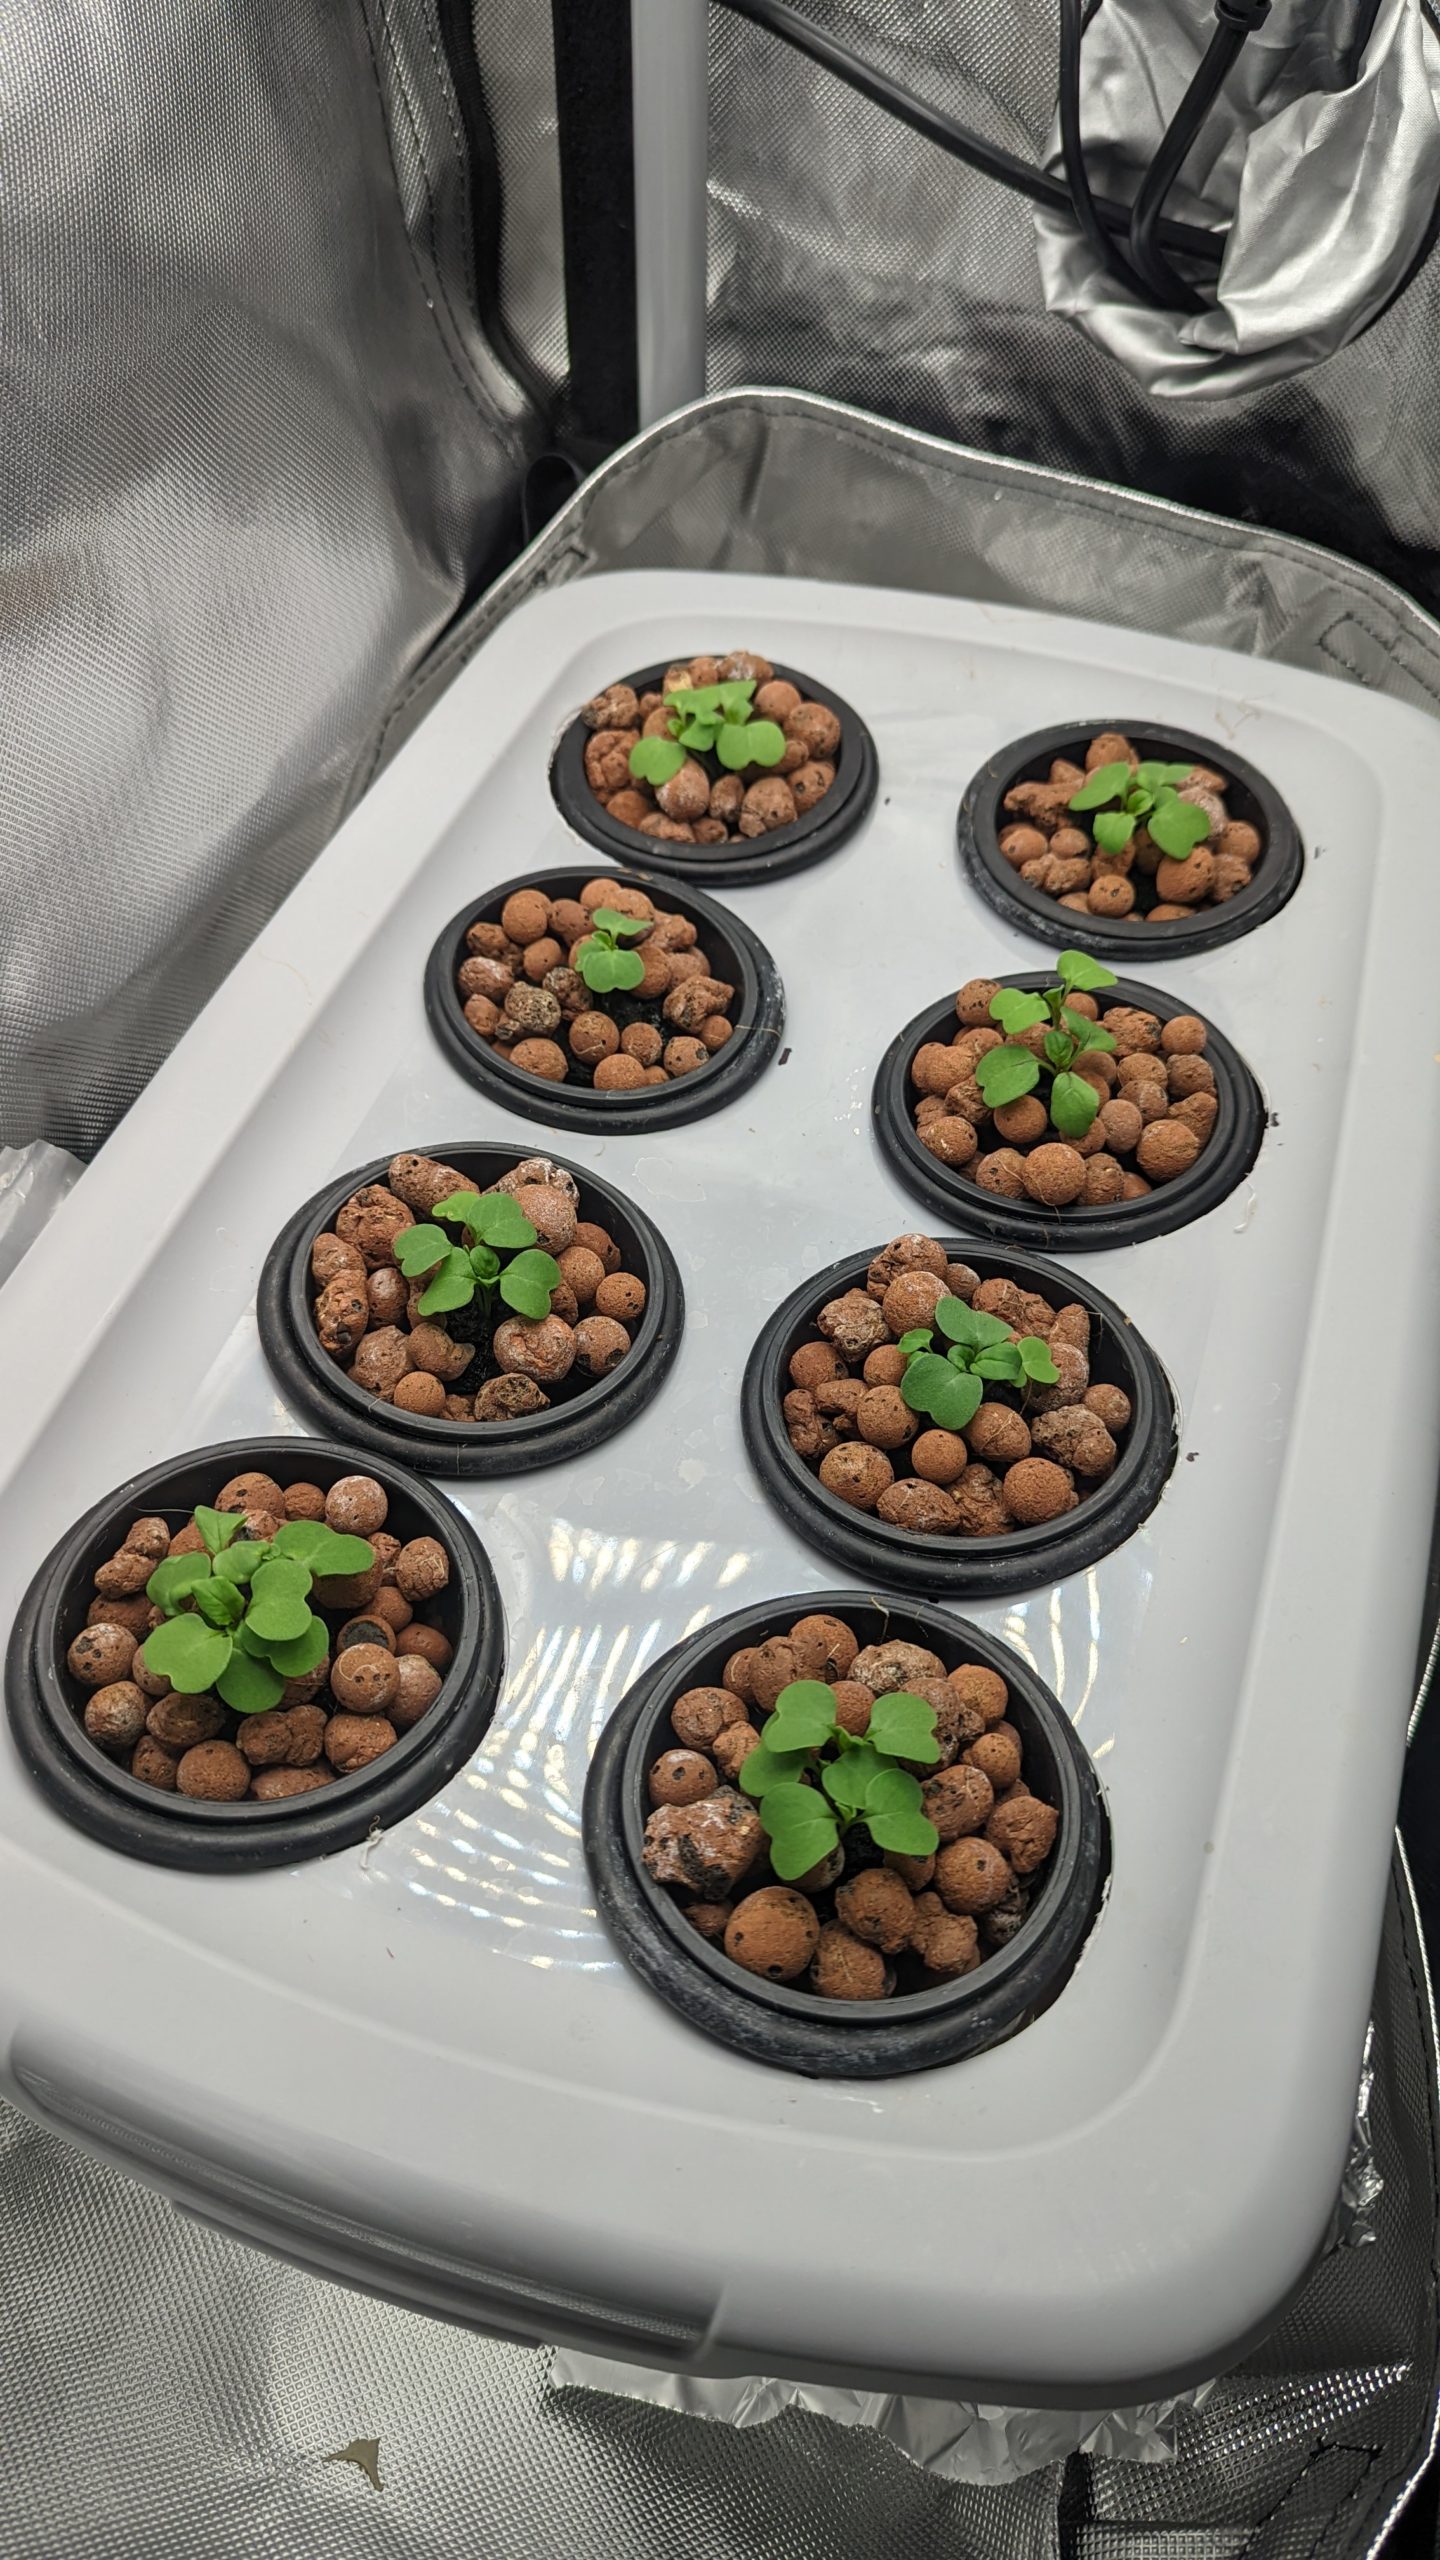
In each of my one-by-two grow chambers, I got creative with some storage containers you can buy at Home Depot. Each one is 18 inches by 12 inches and about 6 inches tall. They are lined with aluminum foil to protect from algae. You can also paint them black on the outside if you want. They hold about a gallon of water.
Each one has eight, three-inch holes in the top and can hold up to 8 plants in it. And technically speaking, they are a little overcrowded and should probably only have 6 plants each, but then again, overcrowding has not caused any serious issues yet.
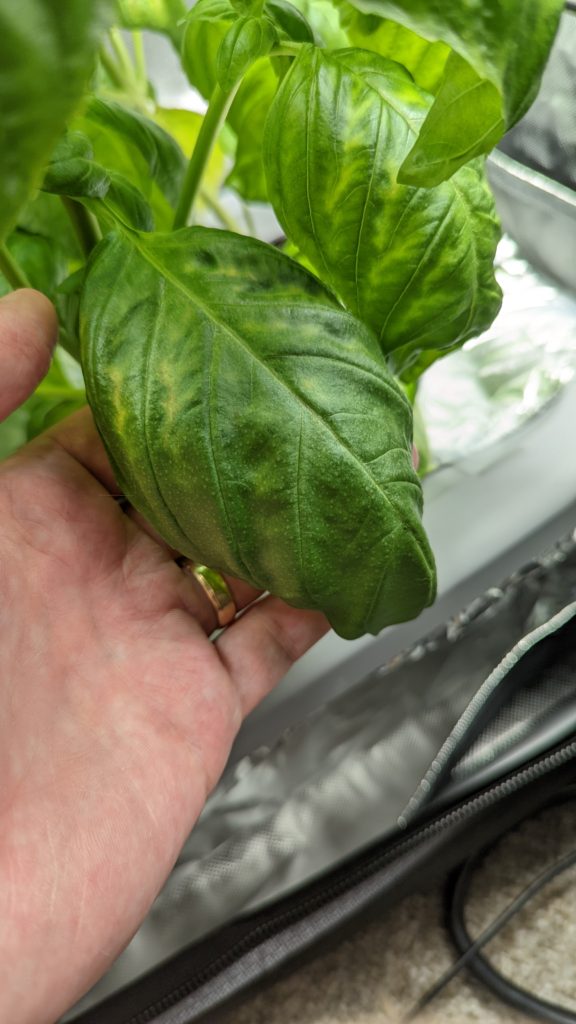
I grow a bunch of different things in each container. Lettuces, arugula, basil, radishes, cilantro, parsley, and scallions are my main go-to. While they are most manageable with one type of plant per grow area, you can mix and match if need be. I tend to grow a variety when I want to try new plants. The secret to mixing and matching is finding plants that overlap in the nutrients department. That means both PPM/EC as well as the ratios in the nutrient mix. Some of my combinations include:
- Bibb lettuce and arugula
- Scallions and basil
- Pok Choy or bok choy and scallions
- Pok Choy or bok choy and parsley
- Parsely, cilantro, scallions and radishes
I’ve tried all the above combinations and have been fairly successful. The only exceptions, I would say, is the combination of pok choy/bok choy and parsley. Another thing you have to consider is plants that grow at similar rates and similar sizes. A plant like pok choy will overshadow parsley and make it fight for light. It’s not a deal breaker, but something to consider.
Mason Jars
Let’s talk about the most entry-level grow container there is, mason jars. While the common quart mason jars are great, I find them most difficult to maintain. Especially when you have a bunch of them. Maintenance gets crazy because for the best results you have to replace the water and nutrients a few times a week. At the end of the day, a quart is really not a great size for hydroponics.
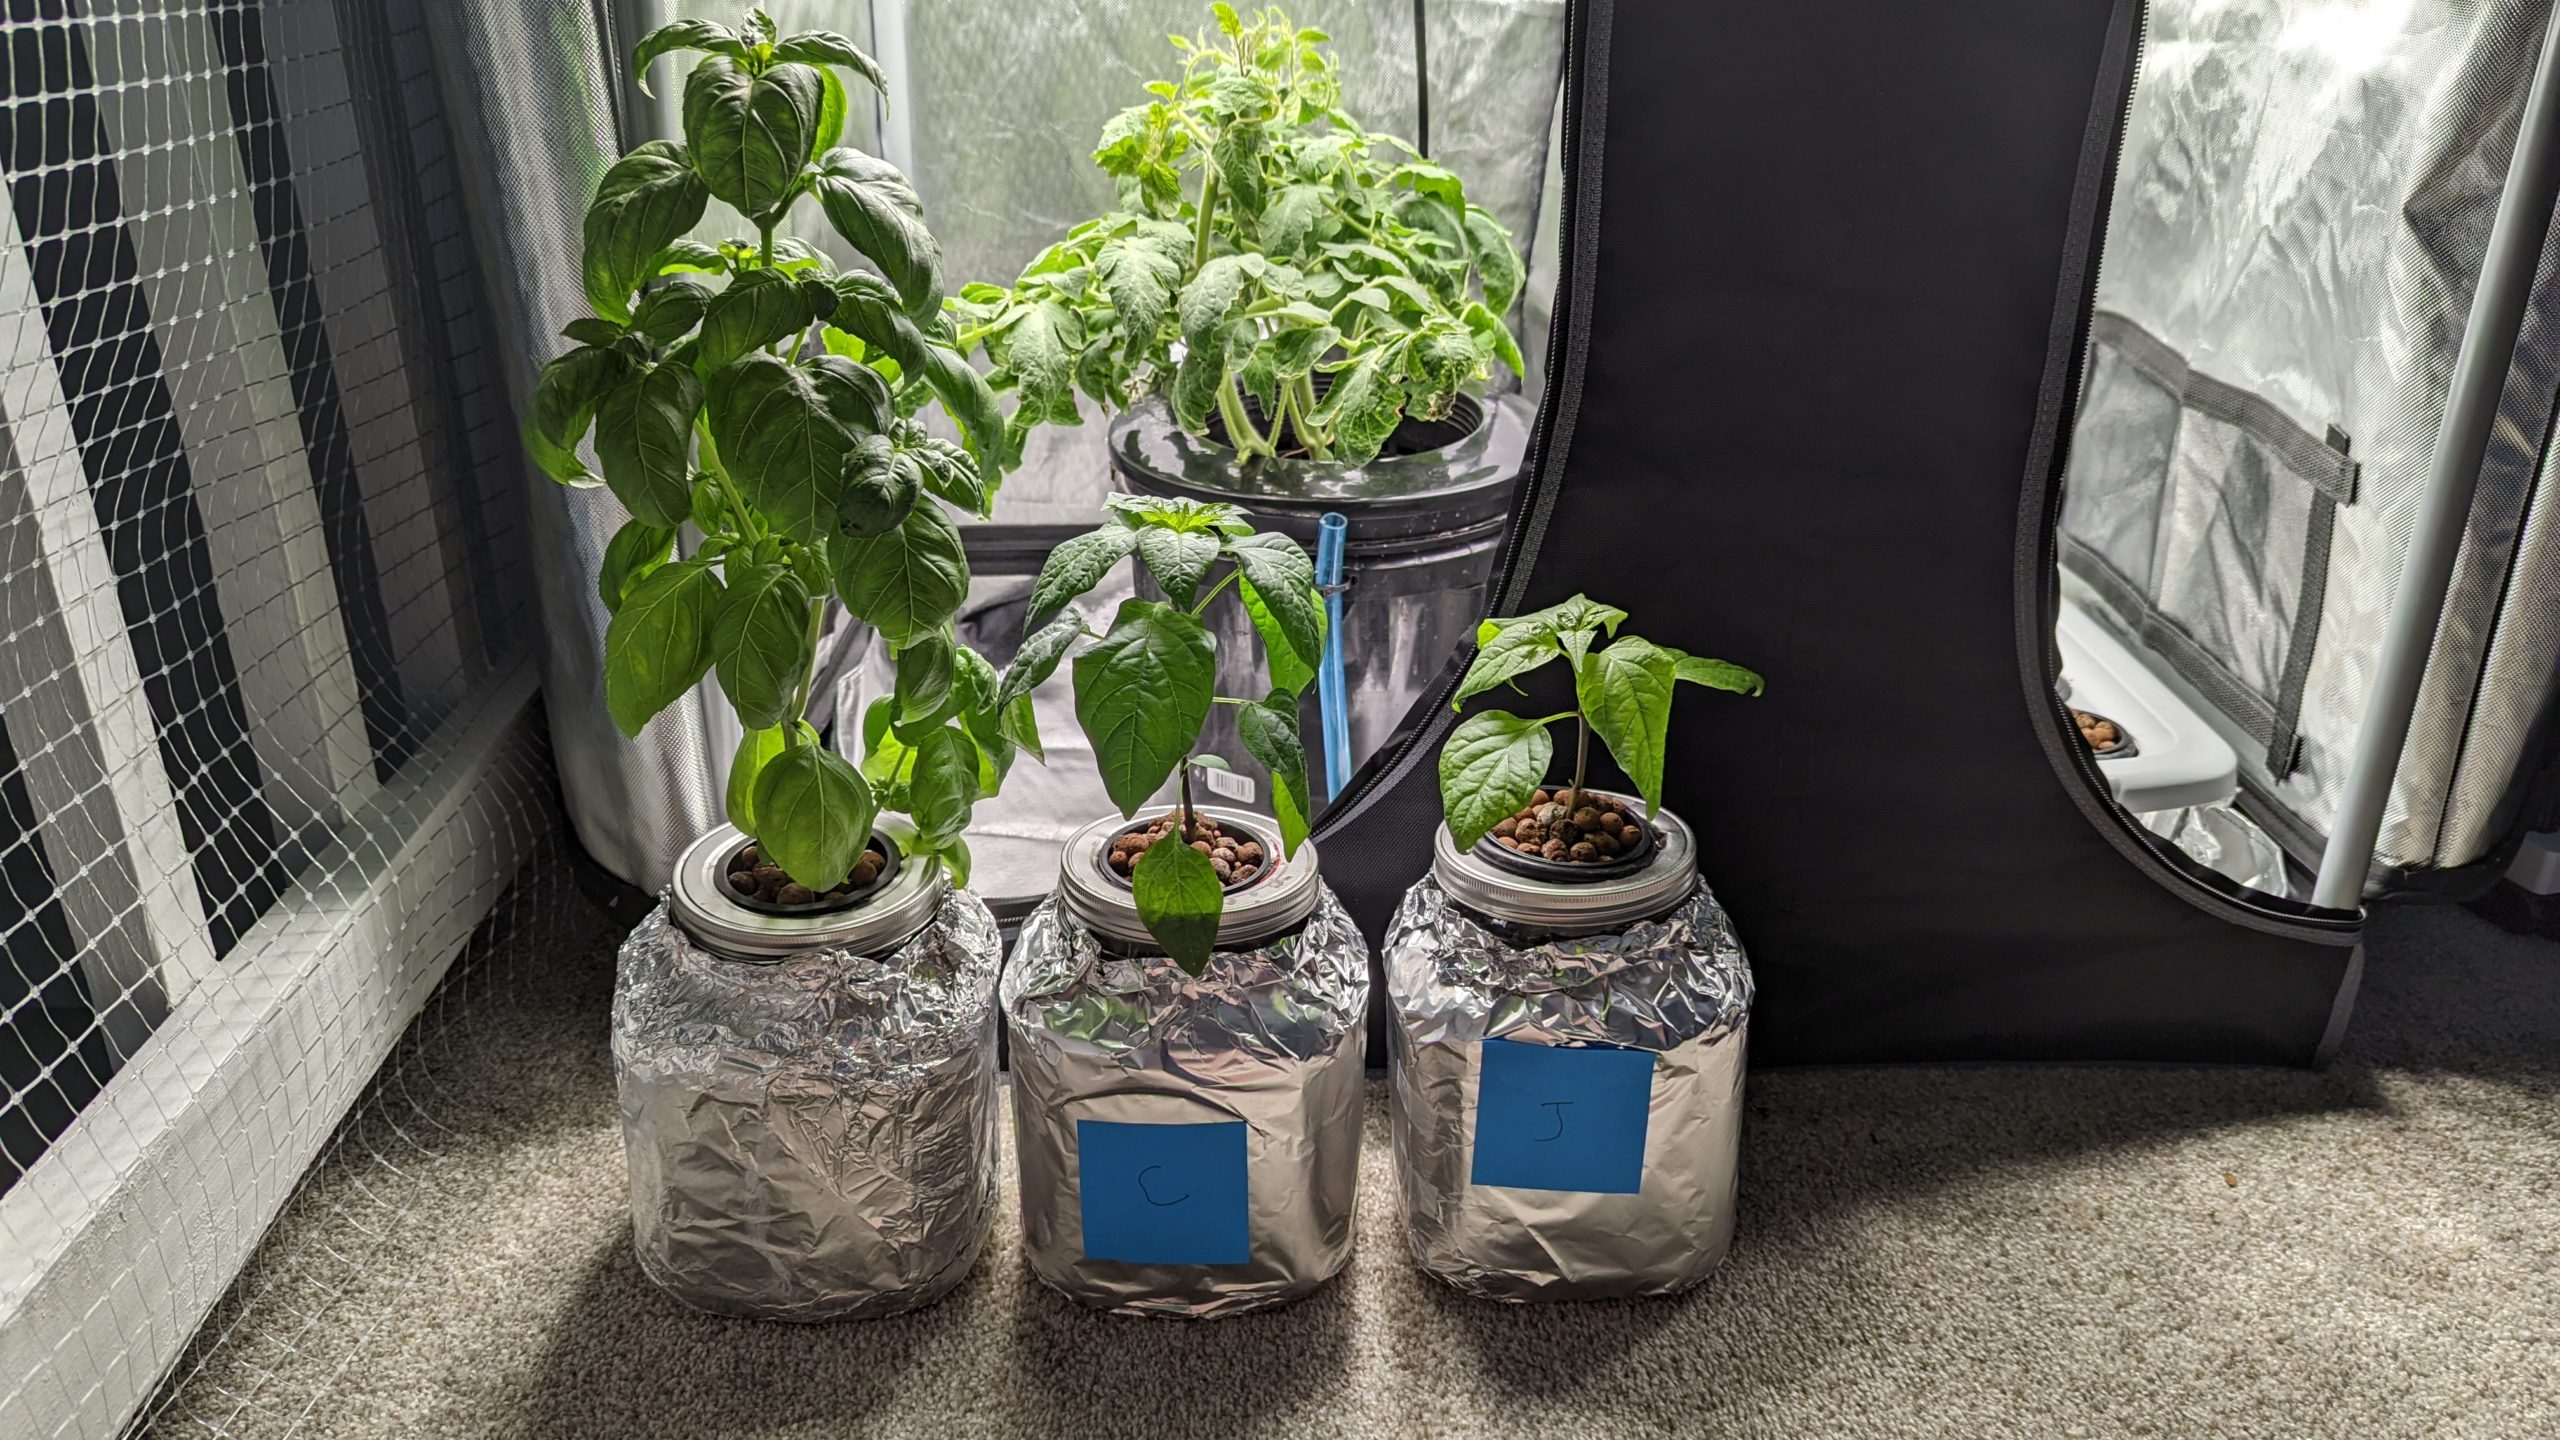
So I am going to let you in on my secret. Especially for basil, go to Target and buy yourself some gallon-sized Mason Jars. These things are great for small and medium-size plants. Take a three-inch net pot, trace the lip onto the mason jar and cut out a hole. I primarily grow basil and pepper plants in these. When you need to be space conscious, like I said before, these things will allow enough space for your plant to grow to a healthy size and save you some space in the process. I have 3 of these in my main chamber with a 3-gallon DWC bucket.
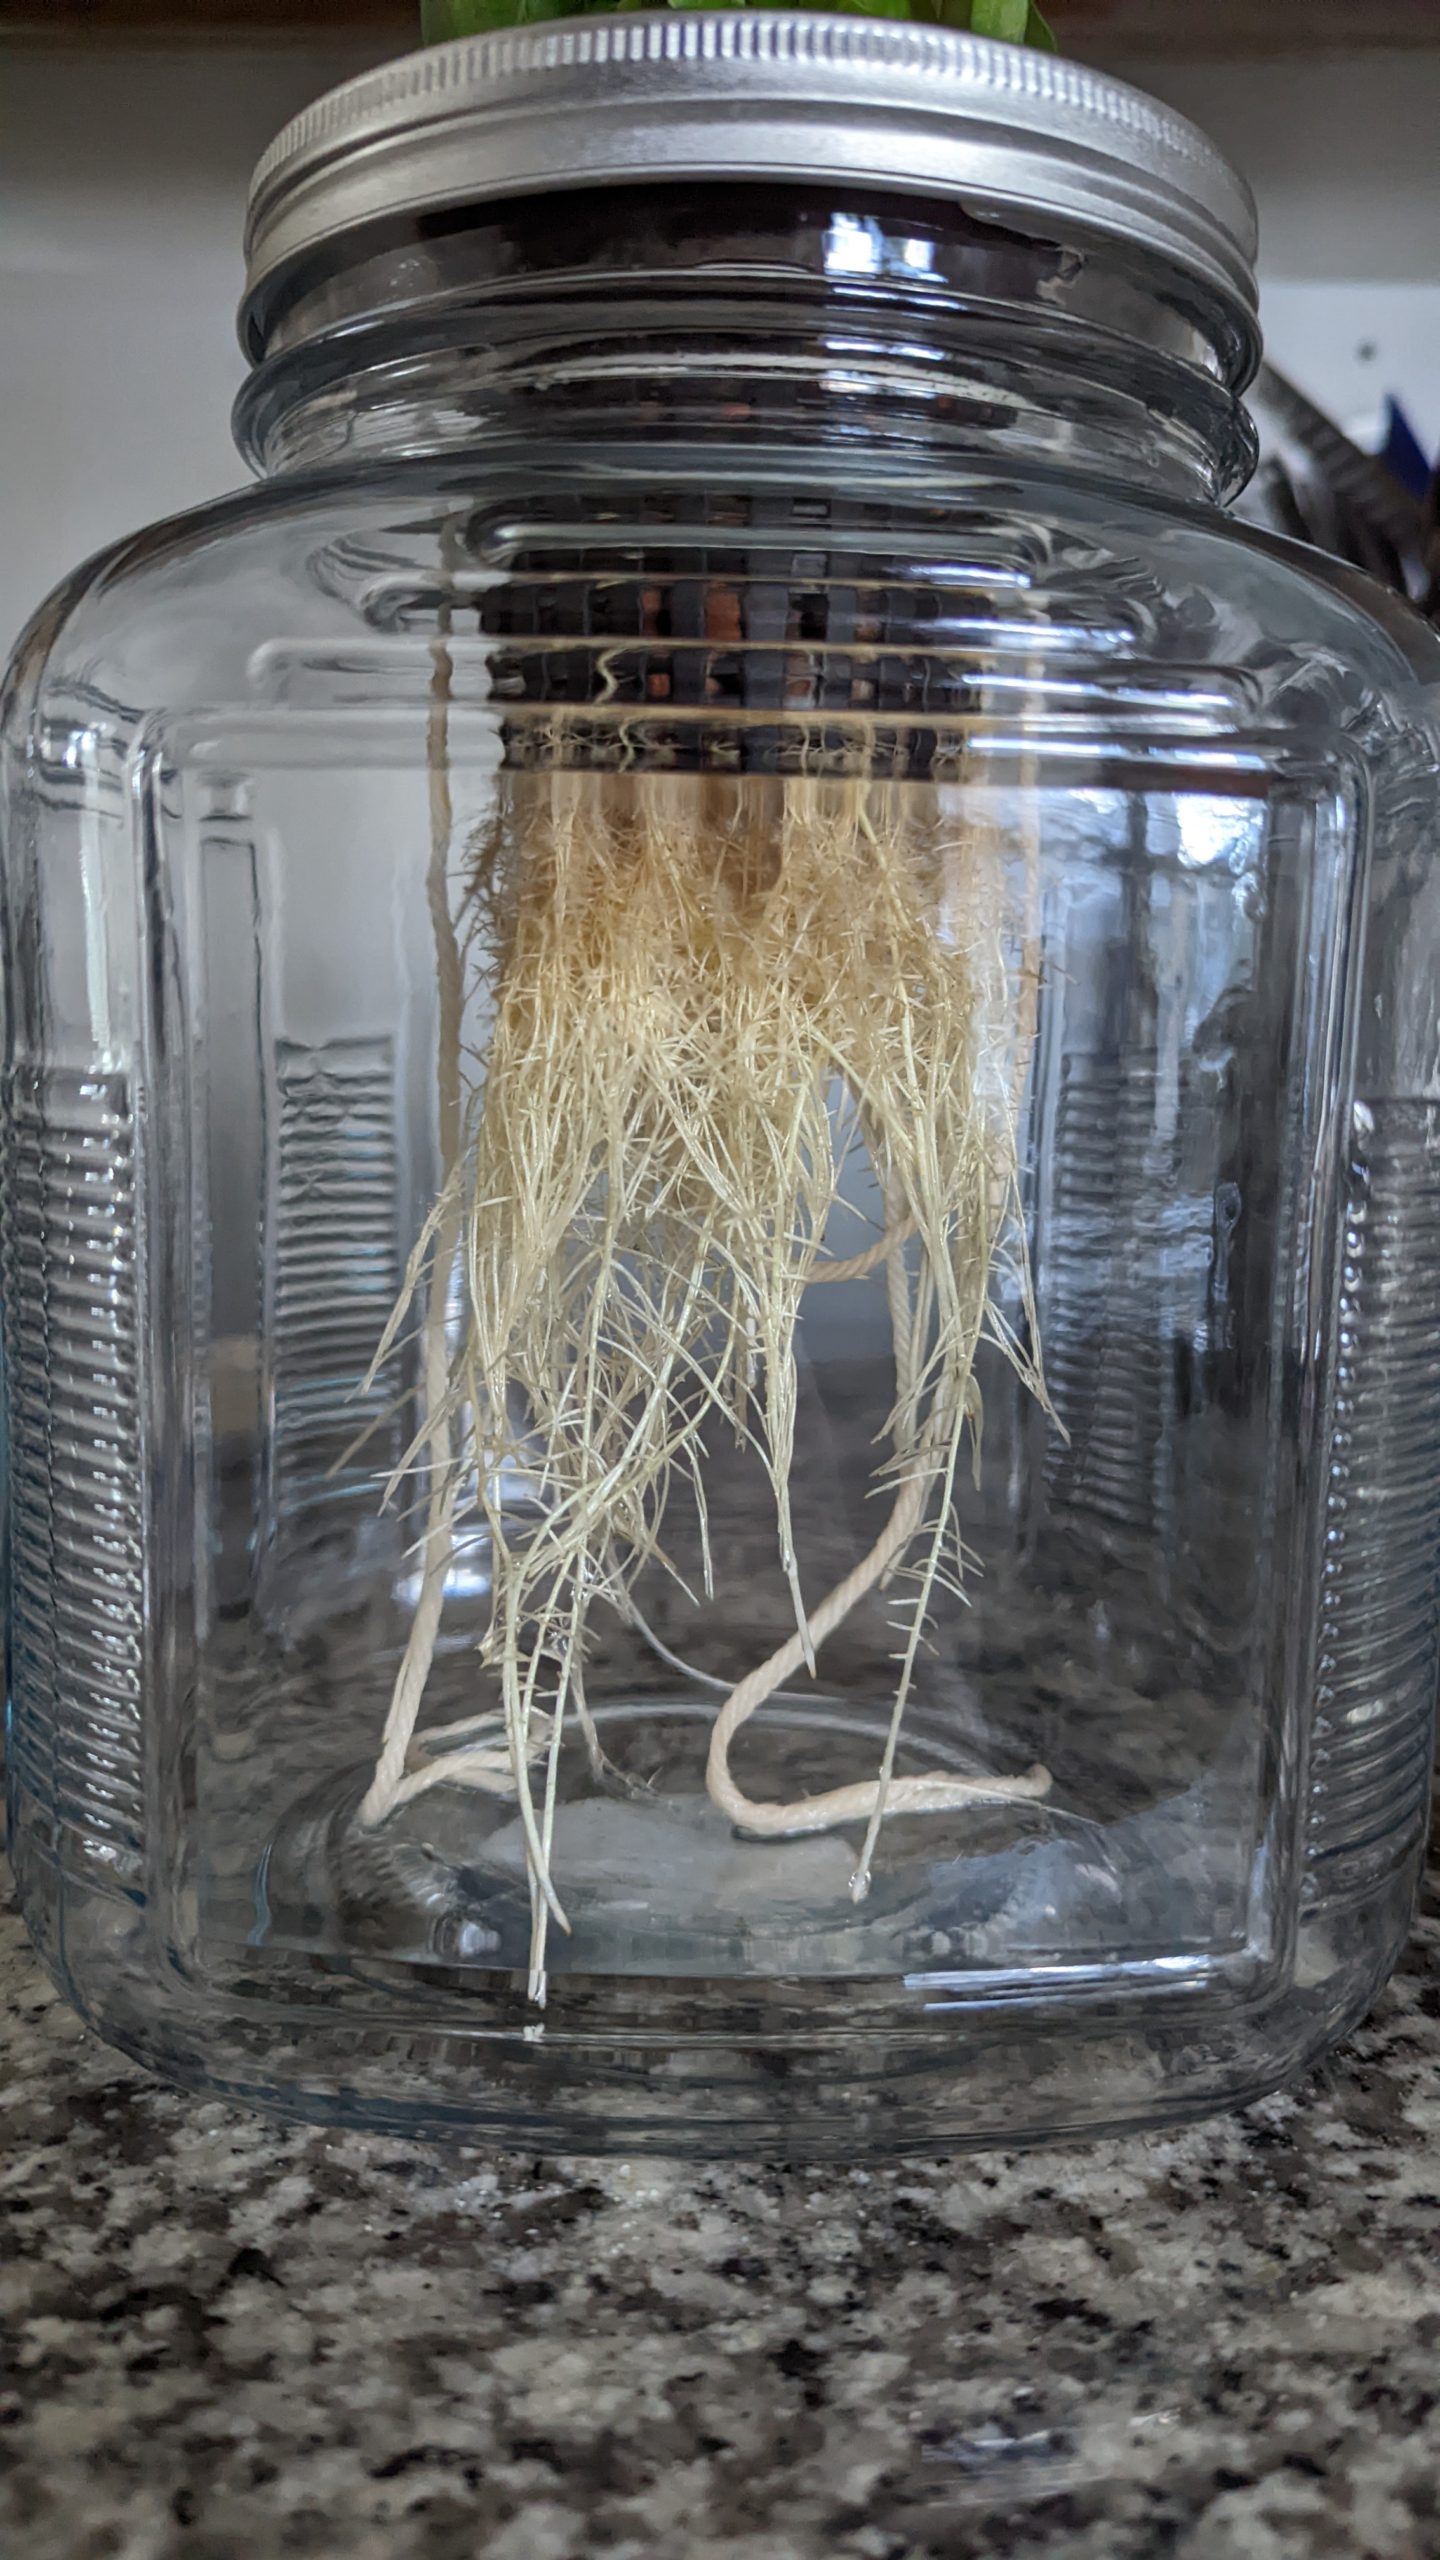
One upgrade I recommend to these gallon-sized Mason Jars is using wicks. I find that the neck of these gallon-sized Mason Jars are a little high for a three-inch net pot. The water level gets lower a little too quickly.
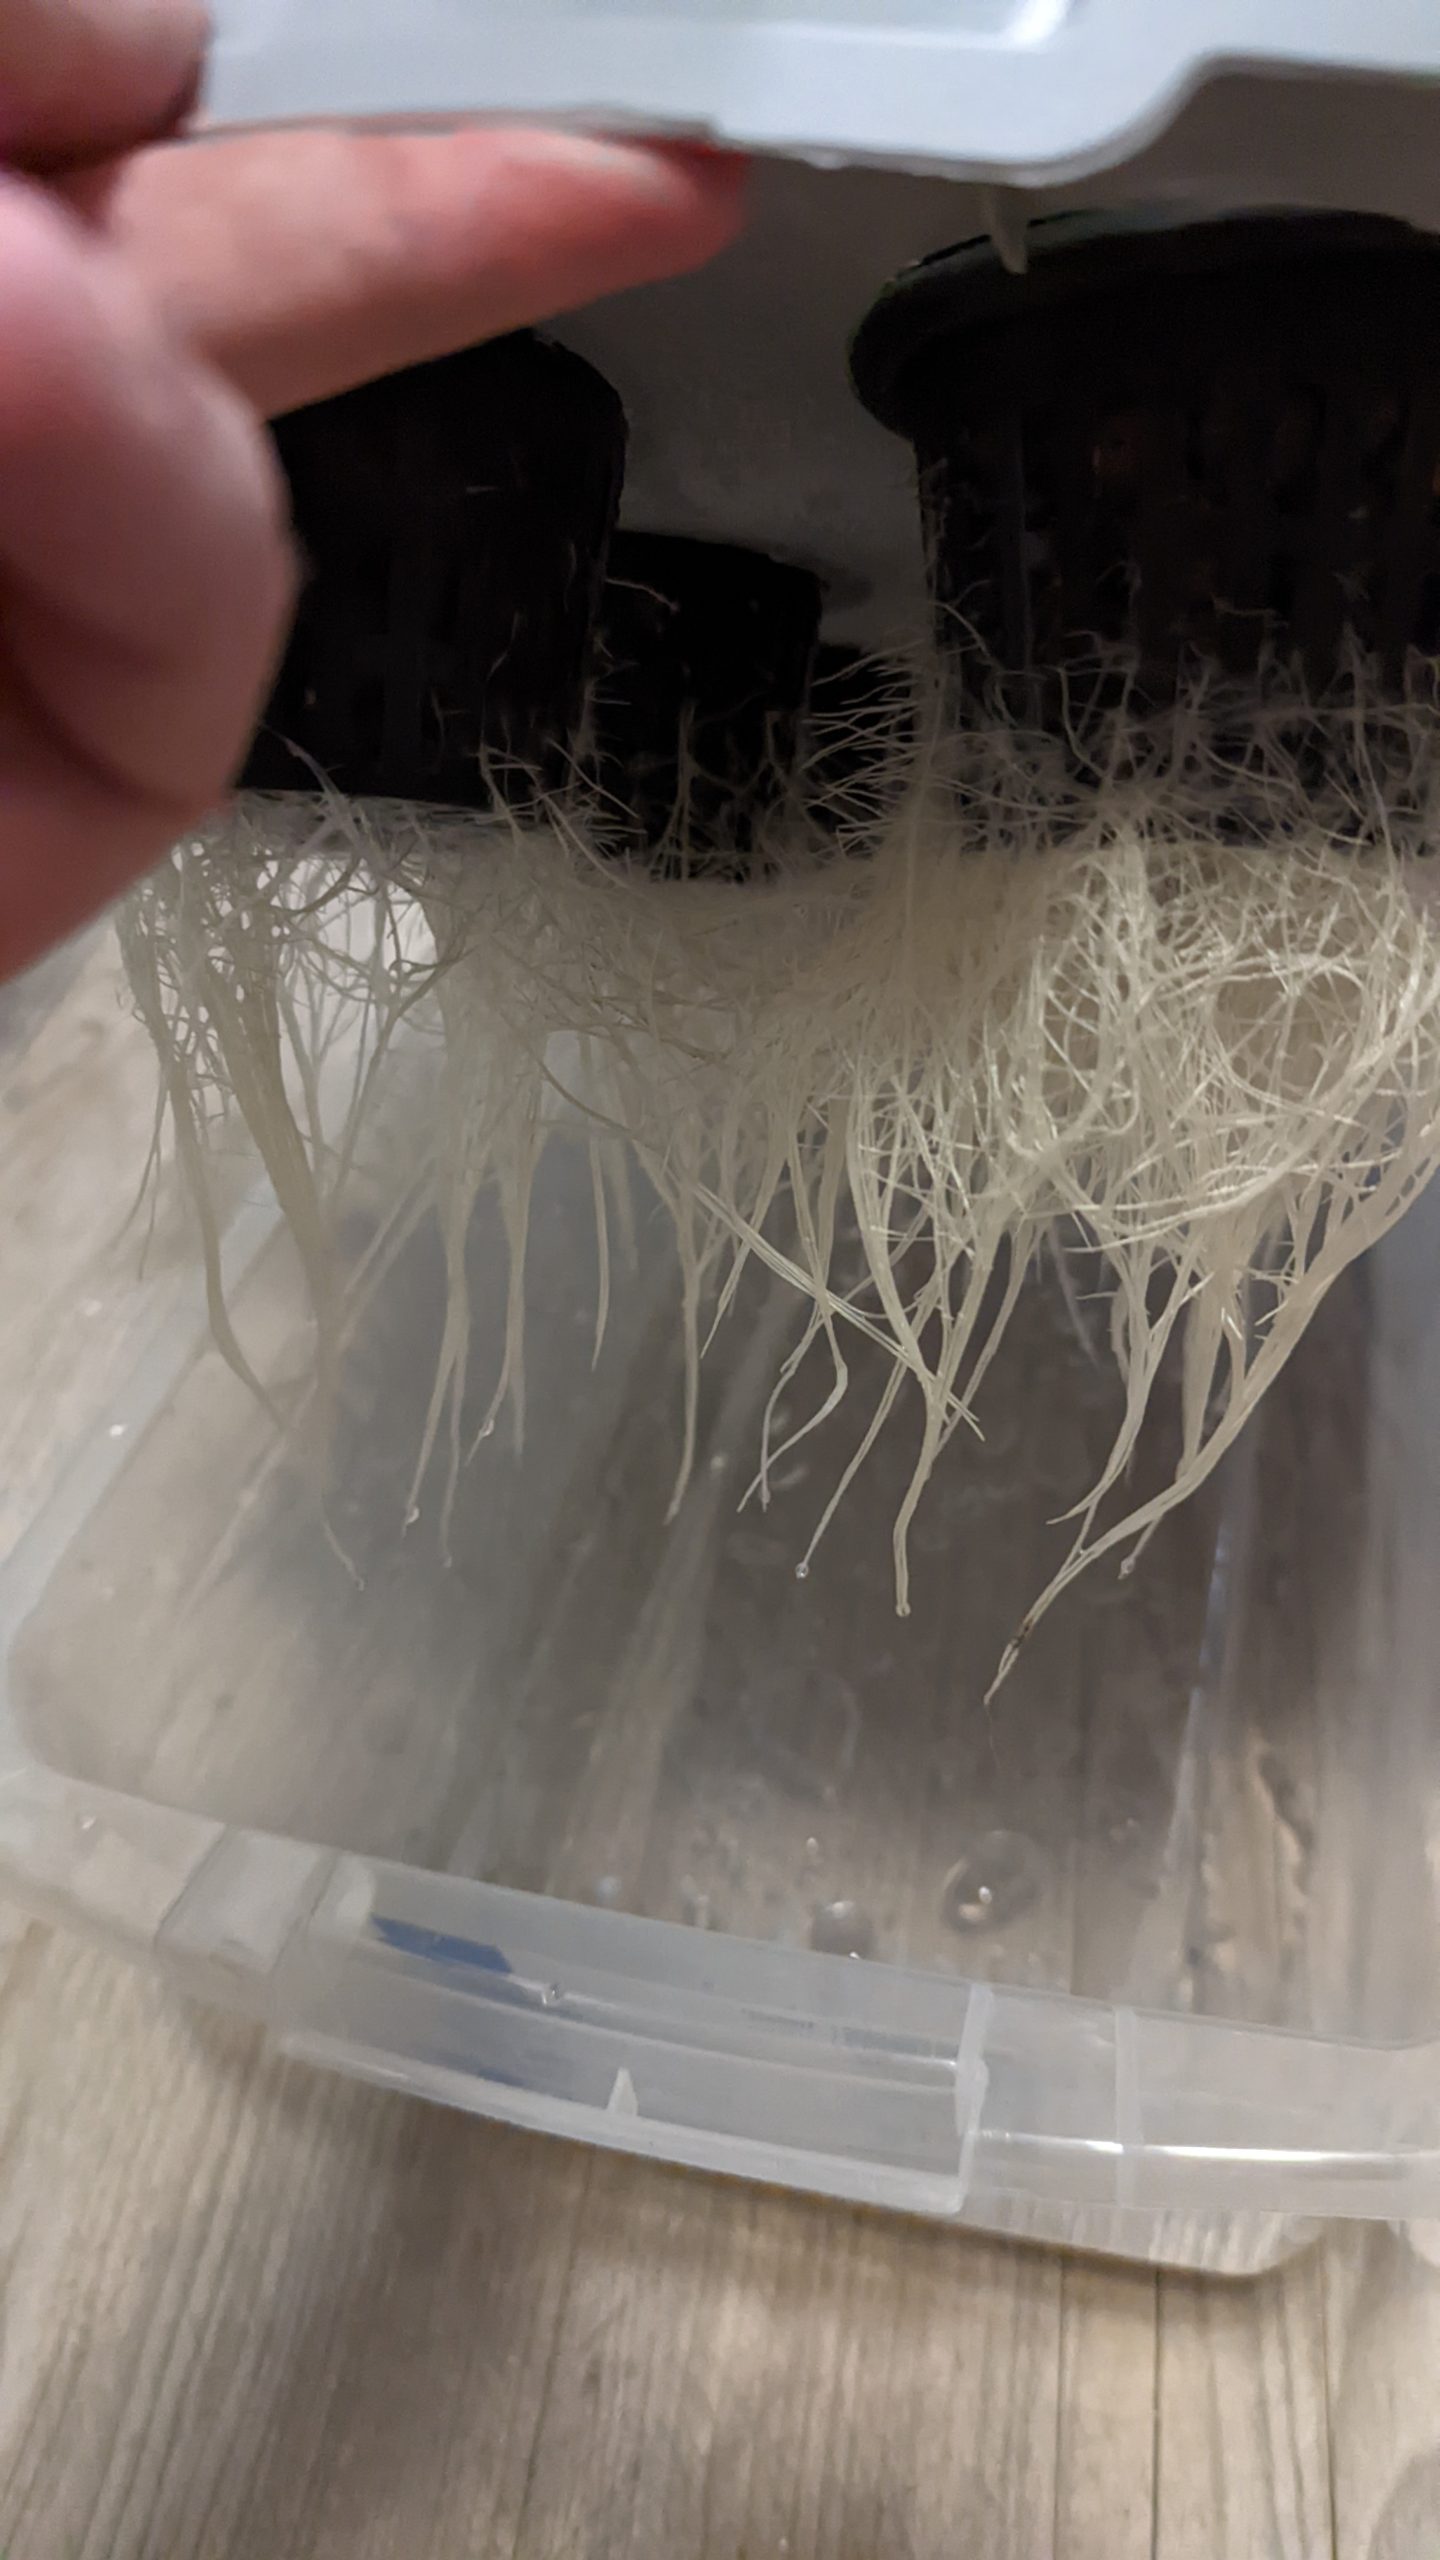
Wicks are as simple as tying two pieces of cotton yarn onto a netted grow pot when you first start your plant. The cotton yarn, of course, absorbs the water and nutrients and brings it closer to your plant when the water level starts to get lower. It also gives your plants’ roots some direction in terms of where to grow towards the water. As the roots grow downward they will attach to the yarn.
Last, extremely important detail for mason jars. Always cover the outside of mason jars! This helps prevent algae from growing in your water and nutrients. I use aluminum foil and tape. You can also paint the outside black.
Grow Mediums
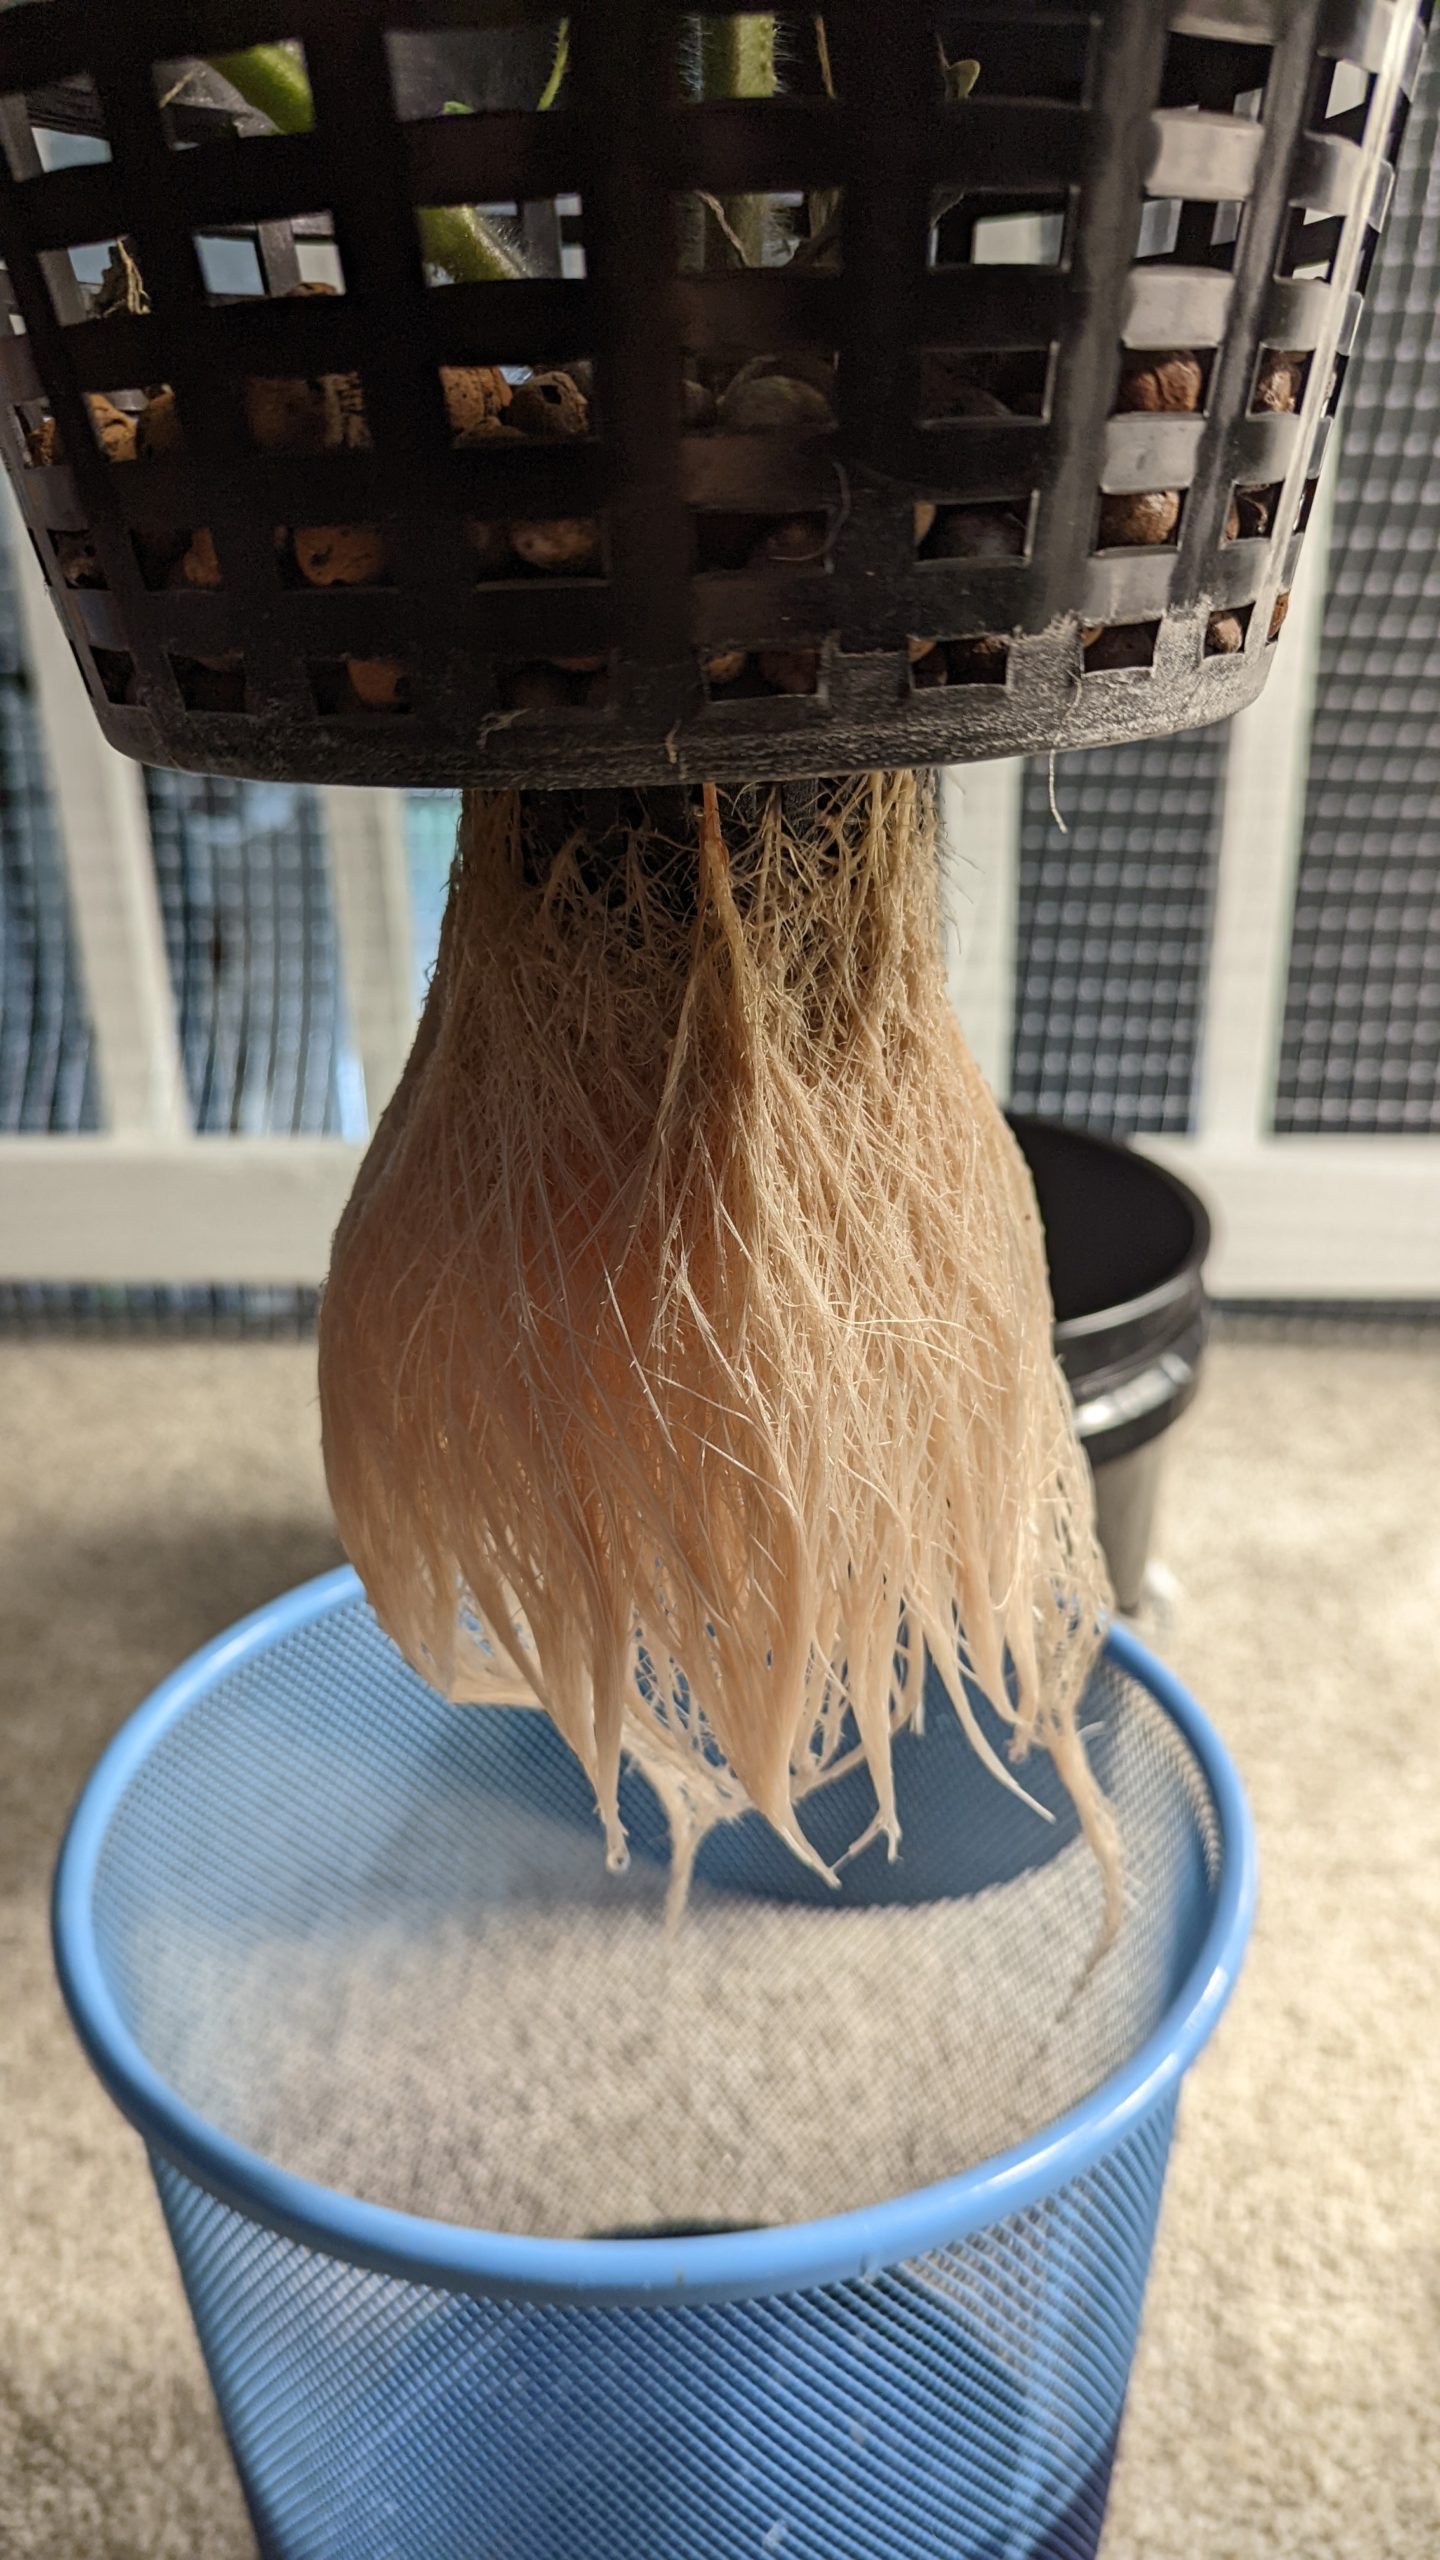
For grow mediums, my goal is to be as reusable and sustainable as possible. A lot of grow mediums are great, but you can’t reuse them. That’s why I use hydroton and rooters, both in a net pot. Hydroton are those clay, rock-like pebbles and rooters are starter plugs.
I personally own about 50L of hydroton and believe me, that is a lot! If you are working on a small project, just get a 25L bag and you’ll be set for life. While the sticker price might be shocking, you buy it once, wash it after each grow, and use it again. I’ve had the same 50L for about 4 years now.
Rooter plugs, on the other hand, which have to be used with hydroton, will have to be thrown out after each grow. But the good news is that rooter plugs are very affordable. I’ve found that they work for most plants and I’ve never had issues with them. Even with larger plants.
For each of my grows, I start my plant in a rooter plug. I put a little hydroton in the net pot to cover the bottom, put the rooter plug in, and then sprinkle hydroton evenly around each side to provide some structure. Then, once the rooter plug is balanced, I fill the net pot with hydroton, covering the rooter plug but leaving a small hole for the sprout to peek through.
The Fan and Ventilation
My fan and ventilation are a four-inch inline fan system from AC Infinity. With the money I saved from not buying a combo tent, I went ahead and spent a little extra money and went all in on a smart inline fan system. Because it connects to the AC Infinity app on my phone, I can adjust the fan speed as well as the temperature and humidity triggers from my phone. It comes with a controller that attaches to a metal plating on the smart tent.
An inline fan is different from just having a fan inside of the tent that creates circulation. An inline fan keeps the tent cool by pulling hot air out of the tent. Because heat rises, it gets set up at the highest point on the tent.
Maintenance
While I check on my plants daily, I usually do water rotations at least once a week. I will either add water and keep nutrients the same, or if a plant is looking healthy and is showing good growth, I will bump their nutrients levels up.
While I can replace the water entirely each week, I don’t always find this necessary. Sometimes I just add additional water and nutrients to my grow containers. So when there is leftover water, I just add fresh water and nutrients.
Typically, I add water and nutrients separately. I add fresh, pH balanced tap water to the grow container, mix the necessary nutrients needed for the plant, and then slowly add that to the new and old mixed water.