Project Submitted By: John Garner McCandless

Hydroponics, Aquaponics, or Aeroponics Project: Hydroponics
Type of System: Nutrient Film Technique (NFT) System (with a touch of DWC)
Important Note: For general information on NFT Systems, check out our NFT System Guide, which covers all the basics. You can also check out the Hydroponics Hobby Center for all the latest and greatest hydroponic information.
Getting Started
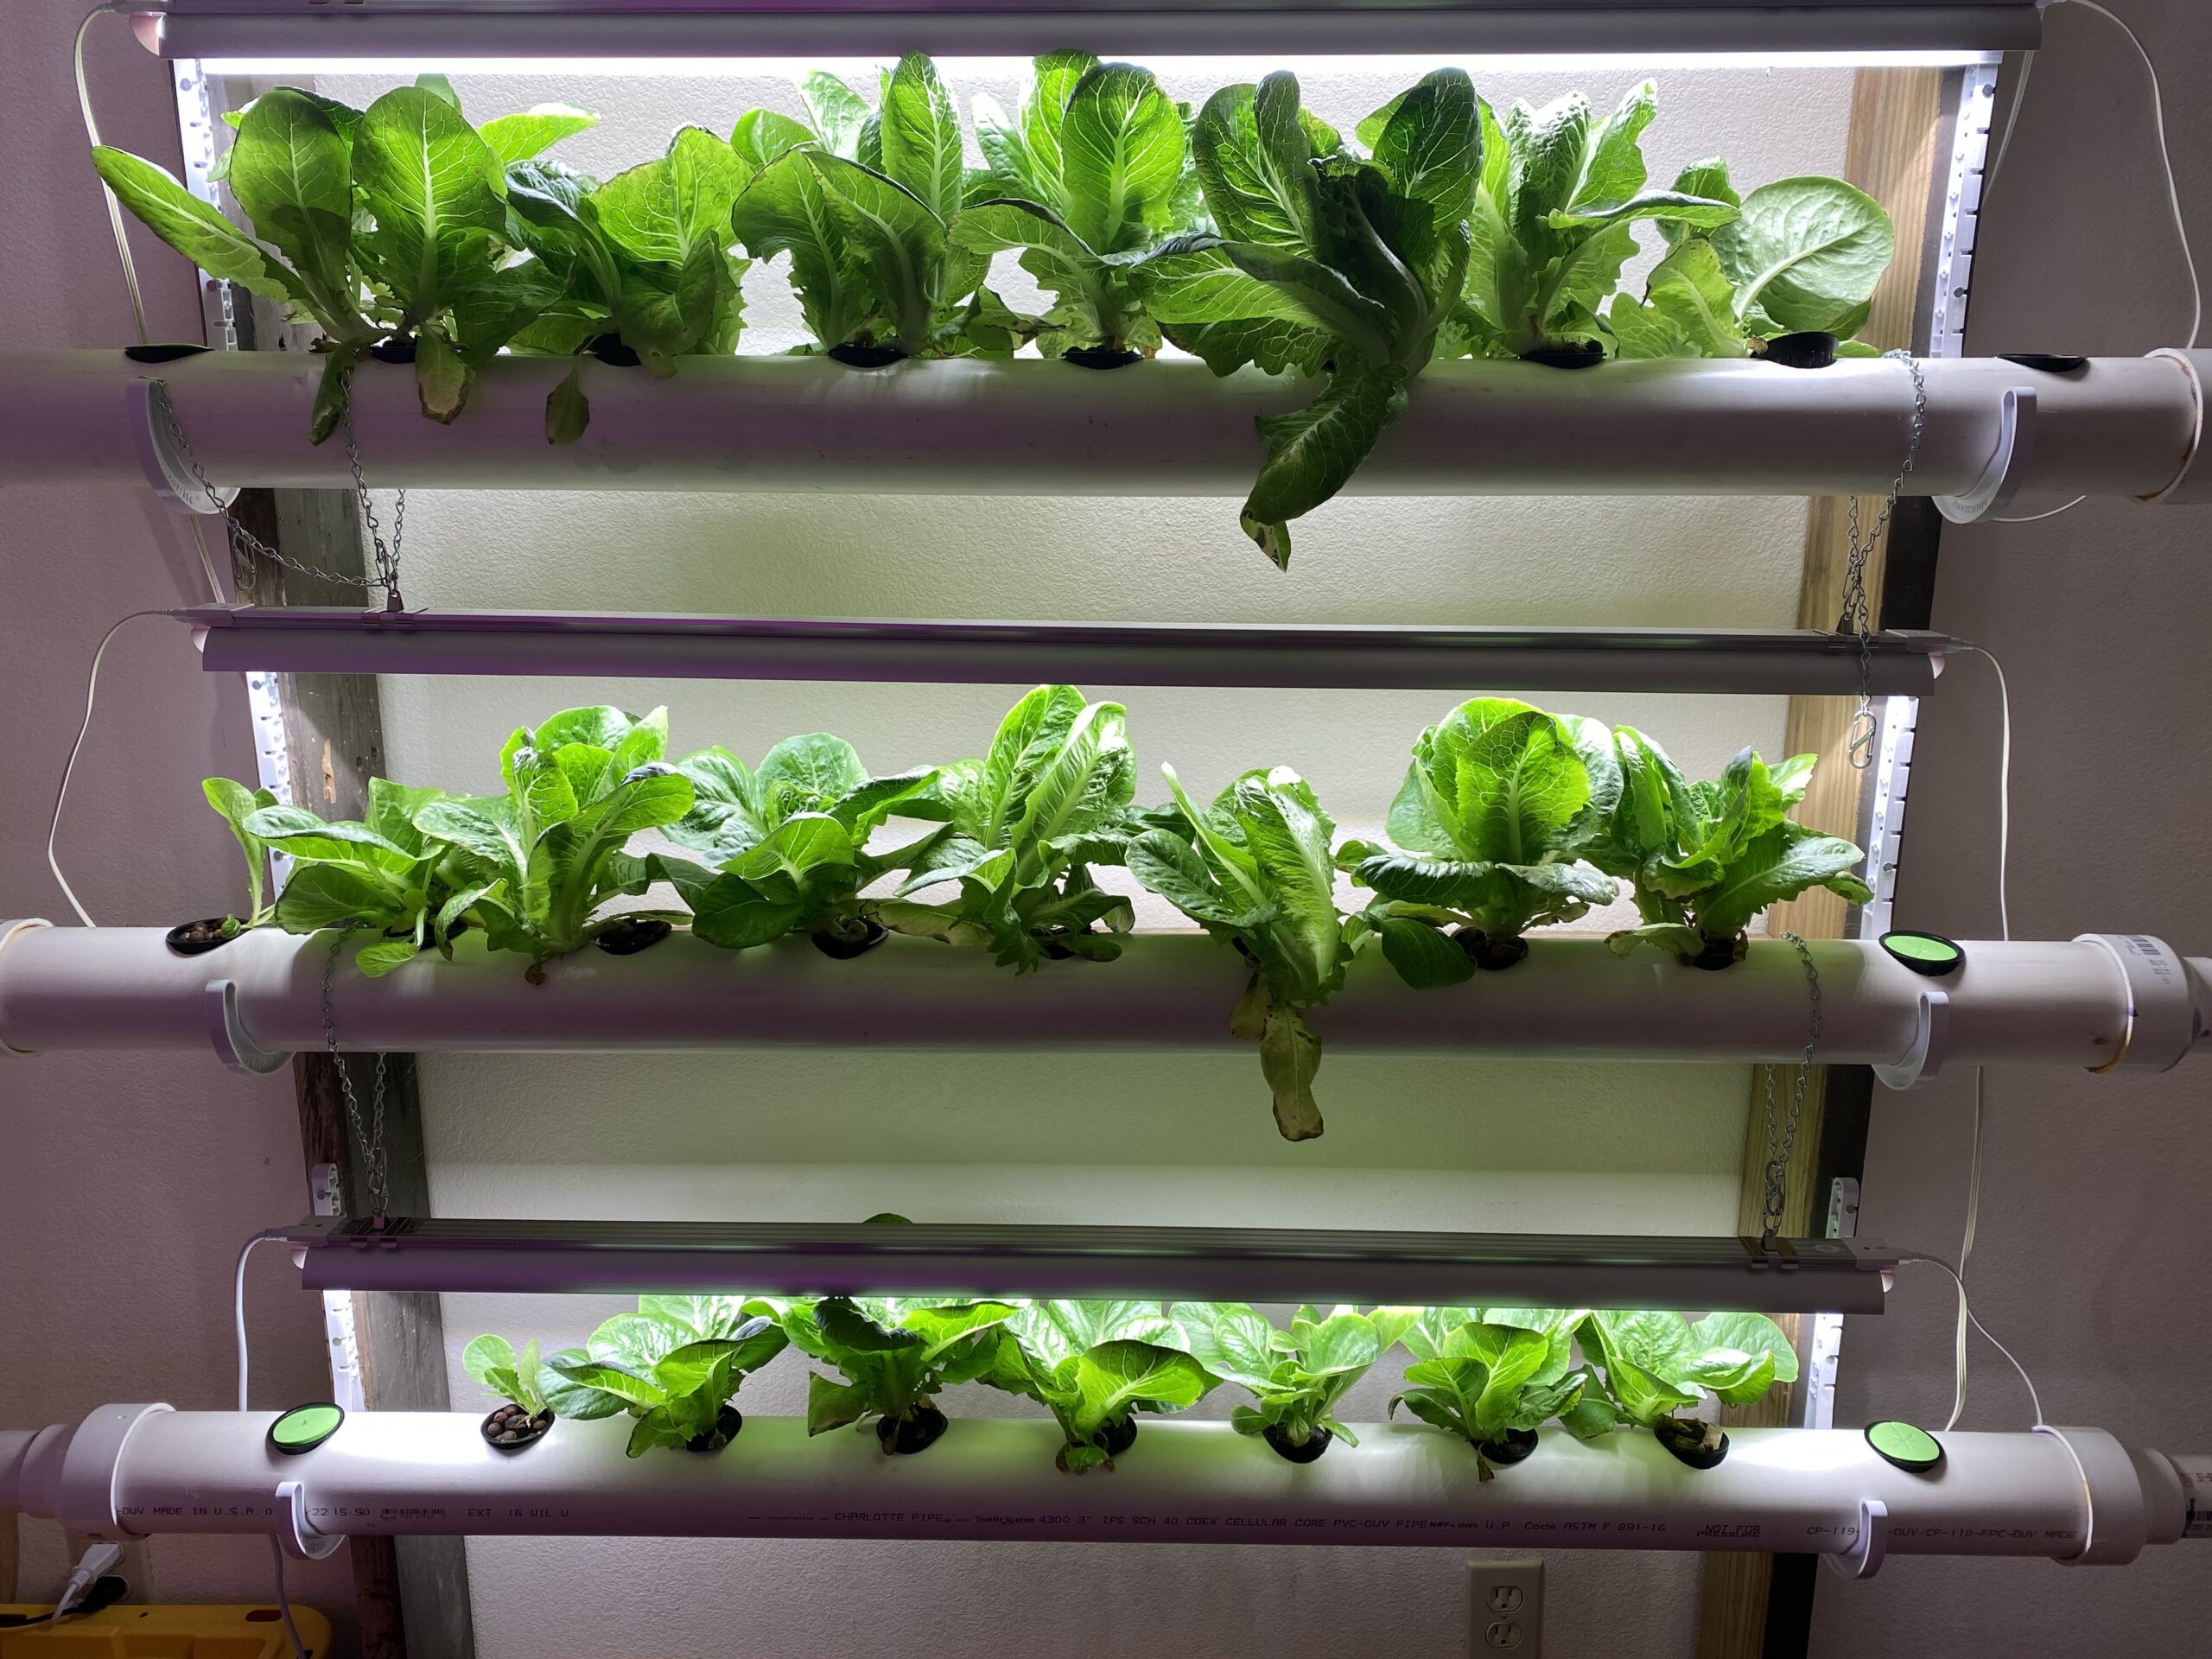
One hdyro project that I’ve been wanting to do for a long time is build a vertical Nutrient Film Technique (NFT) system along my wall in my guest bedroom (aka my hydroponics room). I wanted it to stand completely upright, have lights for each section, and oxygenate itself with falling water instead of an air pump/air stone. I wanted it to look as clean as possible (project aesthetics are always important to me) and also be effective. Here’s how I got started:
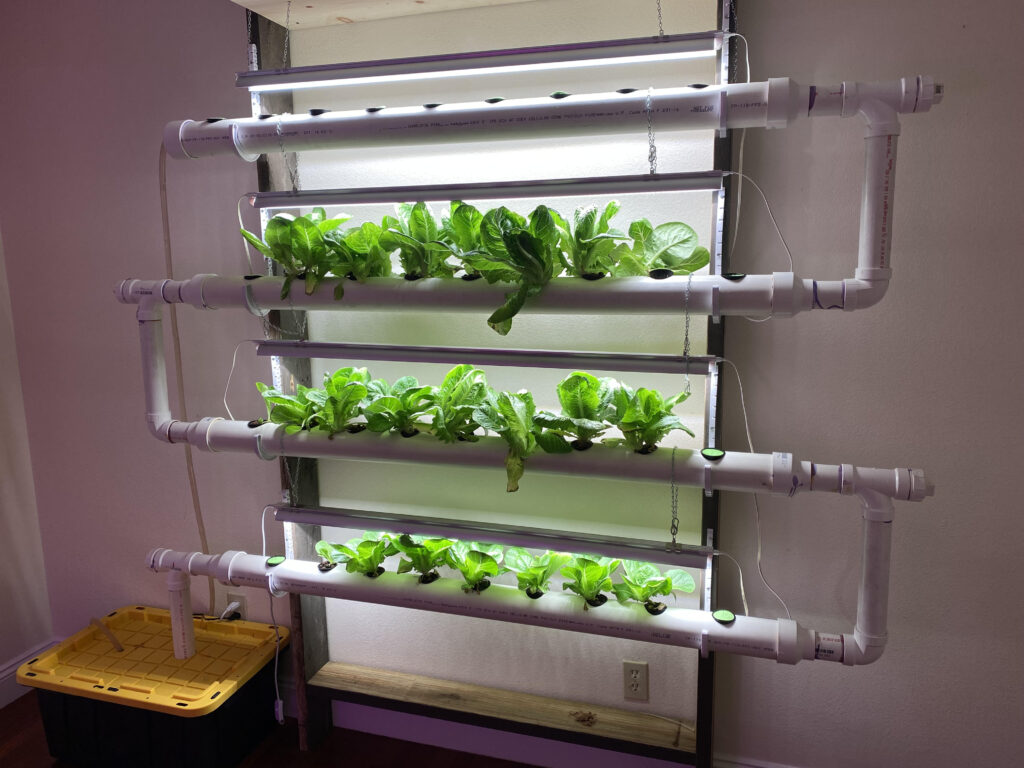
Step 1: Took measurements to see how big of a system I could fit. After measuring, I designed the layout, paying special attention to the depth of water and the potential height of the plants, which would dictate how far apart the channels would be. Main design considerations included:
- Water Depth: Because I was using round PVC, I knew it would be hard to create a true NFT system where the water level is only a few mm in depth. So I figured an inch or so would work just fine as long as the water was moving. This would also help the plant roots reach the water easier.
- Disassembly for Cleaning: I didn’t want to glue the whole system together because I knew it would be impossible to take down and clean. So, instead of having one massive system that I would have to take down all at once, I figured it would be best to glue it into sections, leaving the bottom of the downspouts unglued (because it would virtually impossible to leak from there) for easy disassembly and cleaning.
- Cleanout Valves: I wanted each end to have a cleanout valve for general inspection and access.
- System Support: I knew the system itself couldn’t be butted all the way up against the wall as this would leave little room for the plants to spread out. So I figured a wood stand (using scrap 2x6s) would work just fine and keep it off the wall. I also figured some PVC hooks would make it easy to put up and take down.
- Light and Plant Height: For the system to grow plants effectively, two things needed to happen: the plants would need ample room above them to accommodate their mature size, and the lights would need to be adjustable (go up and down) to provide the right amount of light for seedlings.
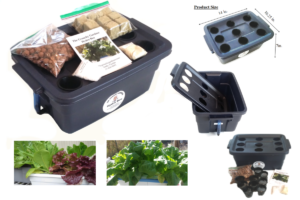
Step 2: Bought the materials that I would need and assembled the system. This included several 3″ PVC pipes, cleanout valves, PVC fittings, and some cheap amazon lights since everything I was growing was fairly small. When building, the only thing that proved difficult (or rather cumbersome) was using a whole saw to drill the net cup holes. Every time I drilled a hole, I had to pry out the little round piece that was left in it which took longer than I expected it to. Which I had to do 36 times.
Overall Experience
Overall, the system worked great, but not perfect. I was able to grow exactly what I wanted, but there were definitely some drawbacks (which is typical with any home build). Here’s a quick rundown of my overall experience:

My Biggest Worries:
- Slope: I didn’t design any slope to the system as I figured the rising water depth would eventually overflow an upper channel and move it to the lower channel. What worried me, however, wasn’t the lack of slope, but that the flow rate might be a little too much for the system and cause too much turbulence inside the channels near the entry points.
- Roots: Shallow-root Vegetables can still get pretty big, which made me worry about potential blockages in the channels (which could lead to a massive overflow).
- Oxygenation: A true NFT system only has a few mm of water at the bottom and everything else inside the channel is oxygen. My system had a few inches of water inside the channel and was relying on falling water (from channel to channel and from channel to reservoir) for oxygenation.
- Potential Leaks: I used PVC primer and glue (NSF-certified) for fittings/connection areas but I was still worried about leaks.
What Actually Worked:
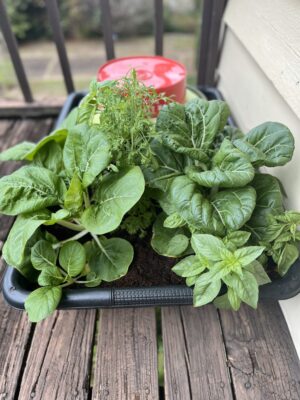
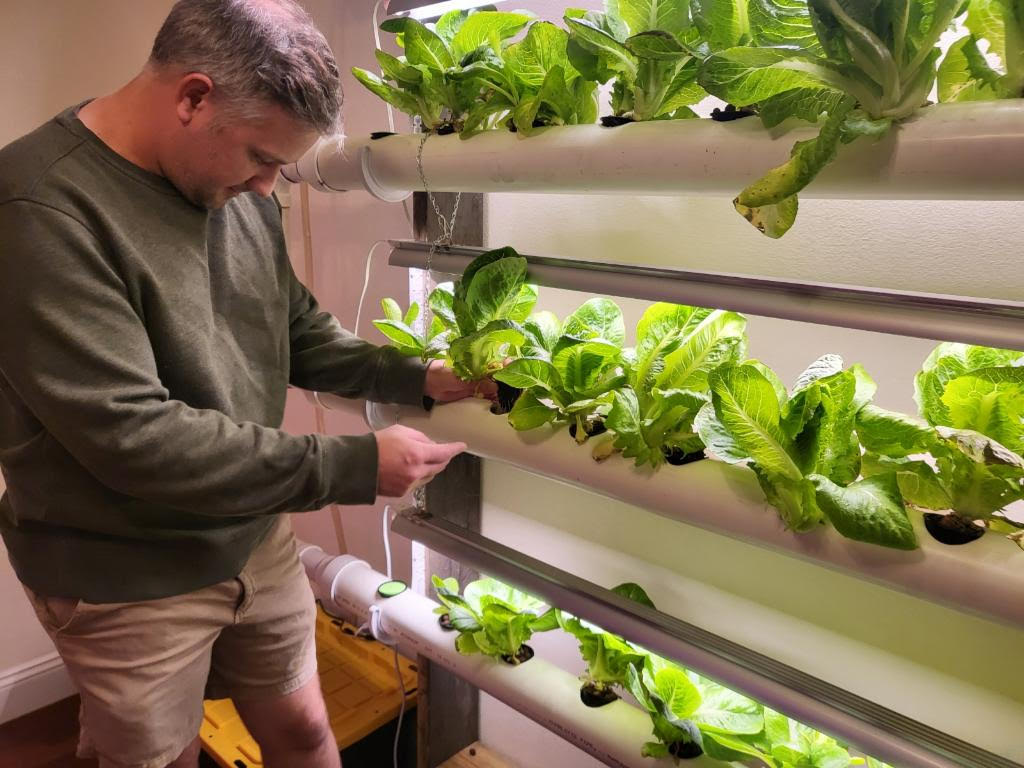
- Lettuce and Herbs: I was able to grow every leafy green and herb that I put into the system (Quick note for readers: remember that big-rooted vegetables like tomatoes, cucumbers, peppers aren’t the best for small, homemade NFT systems due to root size). Some of my grows included lettuce (several varieties), spinach, arugula, green onions, chard, bok choy, and basil.
- Oxygenation: While I didn’t use a DO Meter (Dissolved Oxygen Meter) to officially see how much oxygen was in the system, I could tell that the system wasn’t having any issues. The falling water seemed to work just fine.
- Clean Out Valves: The cleanout valves at the end of the channels were a good addition, both for viewing/accessing while the system was up and cleaning when the system was down.
- Assembly and Disassembly: Breaking apart the system to clean and putting it back up was a lot easier than I expected. I did have a little water get on the floor but nothing that couldn’t be wiped up with a towel.
- Shelfing: When building the stand, I put some boards across to act as shelves. This ended up being a great addition and I used it for all sorts of stuff.
What Didn’t Work:
- Oxygen Maintained without Pump: I pulled out my water pump to clean it and forgot to put it back in for a whole 48 hours. The results were pretty devastating. I had hoped the small air gap in the system might maintain “survivable” oxygen levels but I was wrong. Everything I had in there died and never recovered.
- Starting Seeds in the System: My net cups just barely touching the water inside the channels so I thought it would be easy to start seeds in the system. This never actually worked, even when using water-retentive growing mediums. The water height was almost there, but not quite high enough to actually keep the growing medium moist.
- Noise: The system ended up being pretty noisy due to all the falling water. I eventually had to move the system to another room as the noise could be heard throughout a good third of my house.
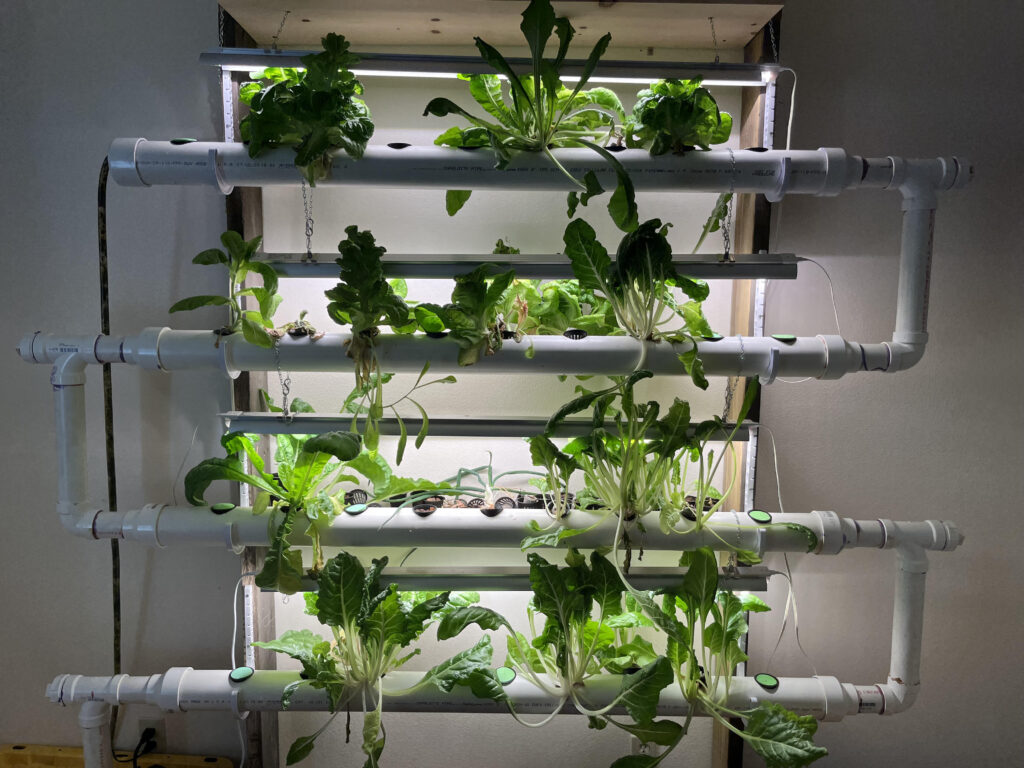
- Root Blockages: I never had the system overflow but there were definitely some scares. When you had a full row of plants growing at once with a whole lot of roots in the channels, one side’s water level (where the water came into the channel) would be significantly higher than the other (where it exited). To keep it from overflowing, I would just harvest the plants once the water level started getting high.
- Adjusting Lights: I used small chains with clips to adjust the light height which made it a little annoying. Probably better to use some sort of pulley system.
- Algae in pump tube: I used some clear, 1/2 inch tubing I had around the house to go from the pump to the top of the system. I knew this would get algae when I started and I had plans to change it out (to a black irrigation line) but I never actually got around to it. As expected, it got pretty bad pretty quick.
- Changing the water out: I didn’t have a good way to change the water out because I had PVC sticking directly into the reservoir. This led to a lot of “topping off” instead of changing the water out entirely, which resulted in some funky smells around the 6 month mark.
- Misplaced Holes in Channel: I barely used the top part of the system as it was too tall to reach. I also rarely used the outside holes because the lights weren’t directly above them which caused some growing issues.
Conclusion
NFT builds, regardless of experience level, are a fun and rewarding endeavor. This one didn’t disappoint. I was able to grow everything I wanted and I’m pretty sure I’ll be growing in it for a long time to come. Would I build this exact design again? Maybe, but I think I’d make a few adjustments. Here are the main things I’d do differently:
- I’ve gotten big on skipping net cups altogether and just using toothpicks or wood skewers to hold coco coir seed starting pellets. From here on out I’m probably just going to drill the hole to the size of the pellets and place the pellets into the holes.
- The overflow problem (or rather potential overflow problem) could be avoided with some bigger PVC and lower water depth. Something to experiment with.
- Raising and lowering the lights was annoying. Probably best to install a pulley system with a cleat for easy adjusting.
- Although cleaning an indoor hydroponics is a pain, it’s a absolute must. Changing the water out every two to three weeks is also a must with a system this size.
- Noise was a big downside to this design. For future vertical NFT builds, I’ll probably avoid putting them near the living room.
- And the obvious, don’t use clear plastic. Clear plastics always means algae no matter what.
Have a Project That You’d Like to Share?
If you have something you’ve built in hydroponics — whether big or small — we’d love to share it with the Ponics Life community. If interested, use our easy-to-fill-out form so we can get your project published!