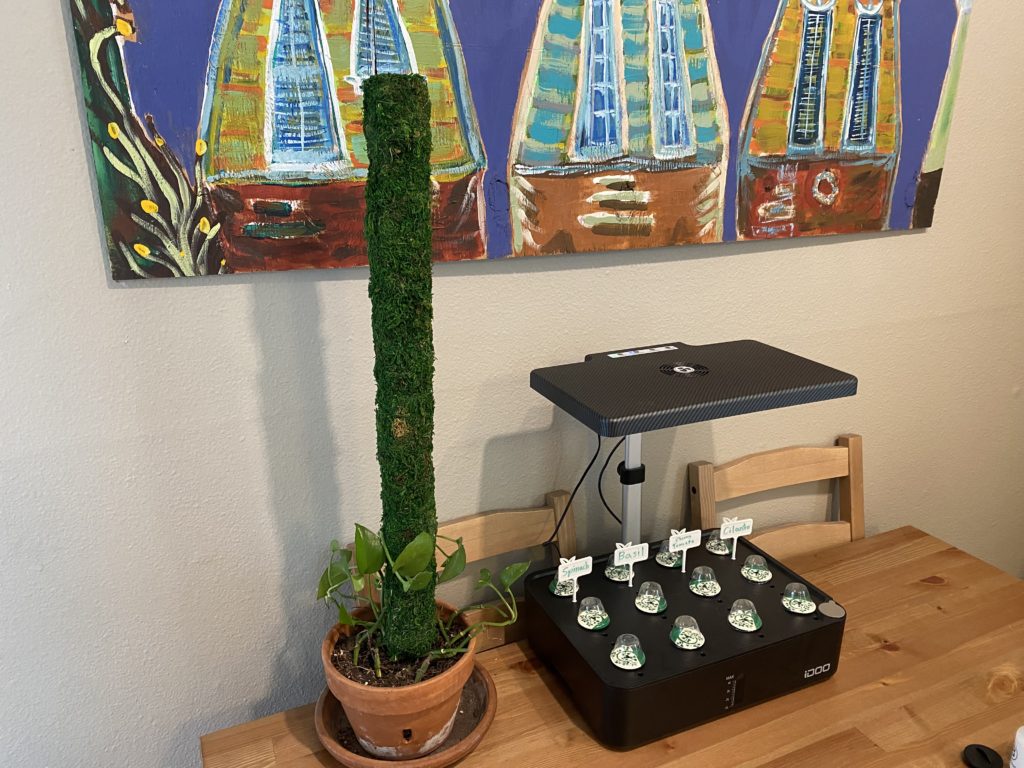
If your vining plants are grasping for the walls or furniture in an attempt to climb skyward, you might want to make them a moss pole.

Unless you have a tree trunk growing in the middle of your living room, a moss pole is the best way to give your tropical vining plants the anchor they need to grow. This easy DIY support gives plants like Monstera and Pothos a natural, water-retentive pole that mimics their natural habitat and helps them do what plants do best: grow upwards! Adding a moss pole can help your plants grow bigger, stronger, taller, and with more beautiful fenestrations. Plus, they’re easy enough for any plant parent to make at home!
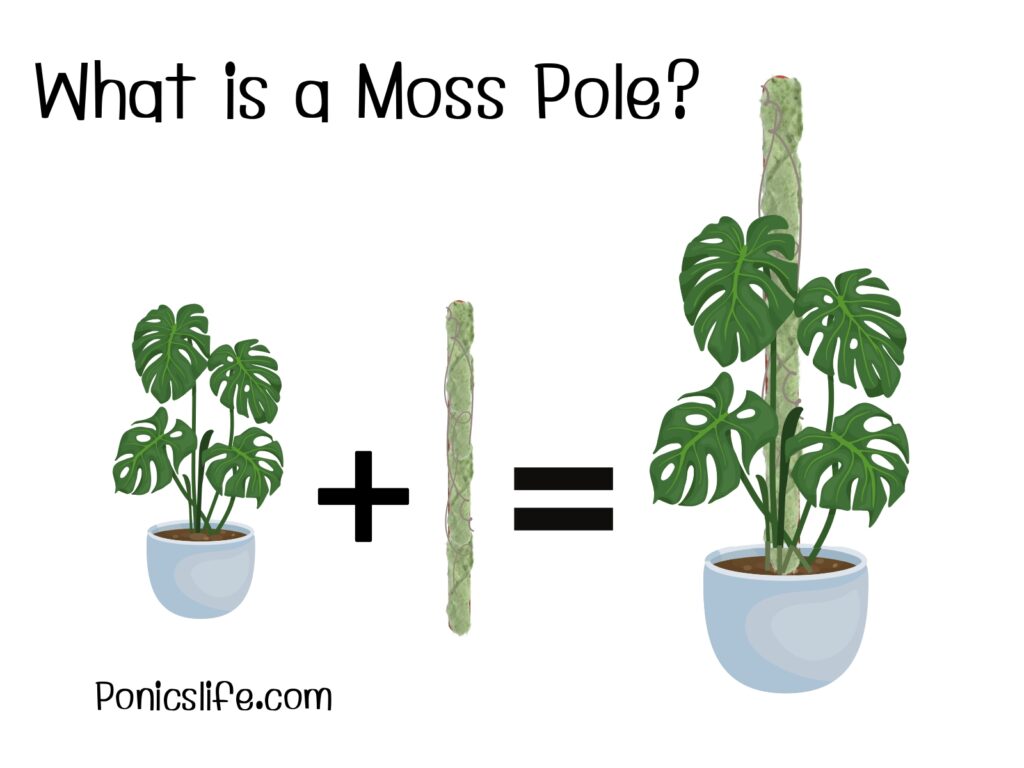
What is a Moss Pole?
If you’re picturing a pole covered in moss, you’ve got the right idea. A moss pole is any tall stake or support covered in moss or fibrous material that a plant can climb. Many modern moss poles are made out of coco coir rather than moss, but are still designed to replicate the mossy trunks of rainforest trees that these tropical plants like to grow on.
Types of Moss Pole
Moss poles come in several different varieties depending on the materials made to construct them:
- Sphagnum moss pole: sphagnum moss is the traditional material for making a moss pole. It is highly water retentive, resistant to rot, and provides plant roots with a fluffy material to grow into.
- Coco coir pole: coco coir is an excellent growing medium that also makes a quality moss pole. It offers good water retention and aeration, but is also widely available and sustainably produced using a waste product from coconuts.
- Tree fern fiber pole: these poles tend to be square rather than round and are made of a packed block of fibers. Some plant roots will find this material difficult to penetrate, but will still be able to attach to it and use it as a support. That’s why tree fern fiber poles tend to be ideal for lighter plants.
The Benefits of Using a Moss Pole for Your Plants
Many of the most popular houseplants are tropical vining plants. These tend to be epiphytes, which are the kinds of plants that grow on top of other plants – typically up trees. A moss pole benefits your indoor plants by mimicking this natural environment, acting as a stake that provides water and a supportive growing medium for aerial roots.
A moss pole will benefit your plants by:
- Simulating its native habitat: in its native habitat, your tropical houseplant likes to grow up the moist, mossy bark of a nearby tree towards the forest canopy. A moss pole mimics this environment, providing support so that it can follow its natural instinct to grow upwards.
- Providing water and nutrients: a moss pole provides moisture and micronutrients to the aerial roots of your plant as it climbs. Since they are used to absorbing the water from the moss on the trees they climb in the forest; moss is the best way to give these climbers what they need to thrive.
- Promoting mature foliage: your plant will be able to sense the sturdy support of the moss pole as it grows. This tells it that it’s safe to grow large, mature leaves. You’ll enjoy a fuller, healthier-looking plant with more mature growth. If you’re growing Monstera deliciosa, you’ll also see more fenestrations (the gaps or holes in the leaves that give it its distinctive appearance) as a result.
- Creating an appealing shape: moss poles can also help shape a plant growing too wide, or that is looking unruly. As you train your plant up the moss pole, you can encourage it into a narrower growth pattern that fits neatly into your space. This gives you more control over your plants’ aesthetic and is particularly useful if you’d like to make good use of your vertical space or create more height variation.
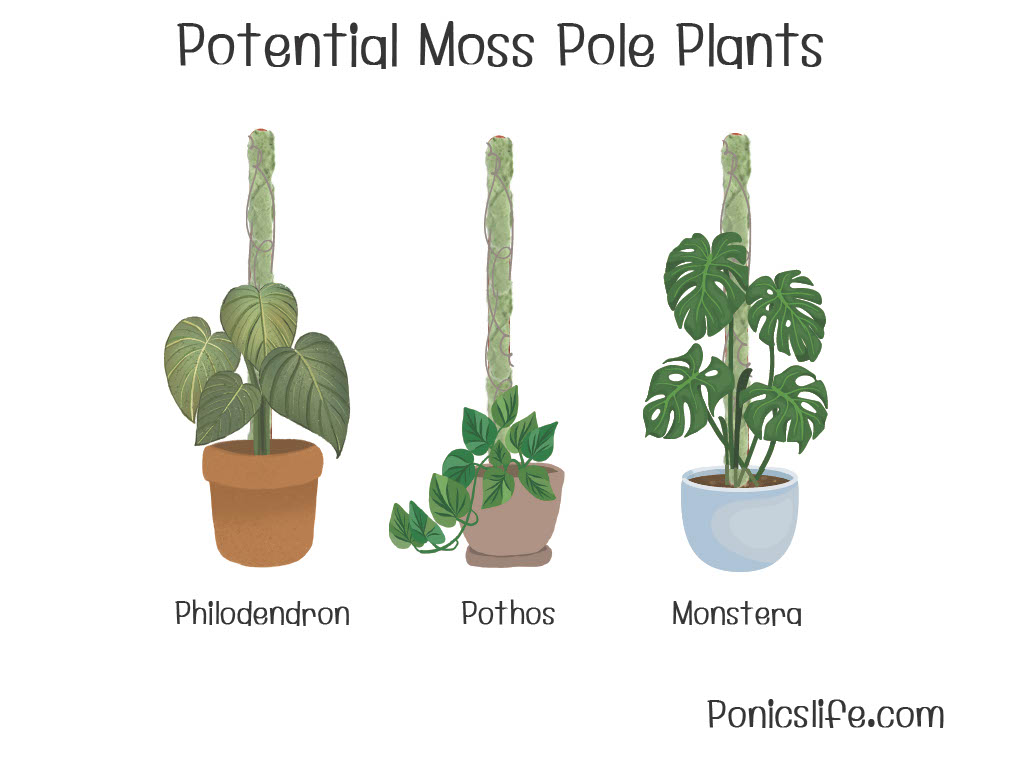
Which Plants Benefit from a Moss Pole?
If your plant is an epiphyte, it will love growing up a moss pole. Common houseplants that thrive with a moss pole include:
- Monstera deliciosas
- Monstera adansoniis
- Philodendron
- Brasil philodendron
- Pothos
- Satin pothos
- Scindapsus
- Arrowhead plants
When Should I Give My Plant a Moss Pole?
The earlier you install your moss pole, the better. You will need to insert the bottom few inches of the pole into the plant’s soil or growing medium to anchor it and keep it stable. If you do this with an established houseplant, you run a much higher risk of disturbing its roots and causing damage to the plant. Young plants have fewer roots running through the soil, so adding a moss pole is less likely to sever one.

It’s never too late to add a moss pole if your plant needs the support, but the older your plant is, the more careful you need to be while inserting it.
Should I Make or Buy a Moss Pole?
Moss poles are a fun and easy project! There are several benefits to making your own, including that you can design it to be the exact height and width you prefer. You’ll also save money by repurposing a stake or pole you already have at home.
If you’d prefer to buy a moss pole, you can visit your local nursery or purchase one online. This can be a good option if you’re worried about the pole’s stability, as many of these commercial options make it easy to attach several together to create the height your plant needs.
Here are some well-rated coco coir options to get you started:
- The Blooming Jungle coco coir moss pole
- Fabulas Moss Poles for climbing plants
- Remiawy moss pole for plants
- Totem Monkey moss pole for plants
You can also purchase empty moss pole stakes to fill with the moss of your choosing. This can be a good option for kids or those who still want to choose their own moss but don’t have the time for a fully-fledged DIY project:
How to Make Your Own DIY Moss Pole
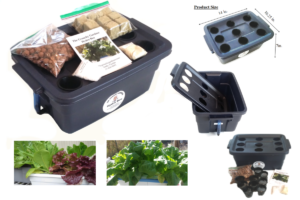
Making a DIY moss pole for your plants is an easy project for any plant parent to enjoy and can be completed in less than an hour. You don’t need much to get started:
What You’ll Need to Build Your DIY Moss Pole
Before making your moss pole, you should gather all the materials and tools you’ll need. Apart from the moss, you’ll likely have most of these materials lying around at home. You can purchase moss at your local nursery or online.
Materials:
- A stake – you can use a wooden dowel, piece of bamboo, PVC pipe, or anything else you have available that can support your plant’s height and weight
- Moss – you can use sphagnum or sheet moss, or sheet coco coir
- 3-4 feet of string – jute, twine, or fishing wire all work well
- A large container of water – it should be big enough to soak your moss in
Tools:
- Protective gloves – this is particularly important if you’re using sphagnum moss
- Scissors
- A tarp or mat to protect your work surface
Once you have everything you need to be assembled, it’s time to build your DIY moss pole!
A Note on Safety
Be sure to wear your protective gloves while assembling your moss pole, especially if you use sphagnum moss to make it. Sphagnum moss can carry a fungus called Sporothrix, which can enter your body through a small scrape or wound and cause a severe infection known as sporotrichosis. Many gardeners opt to wear a thick, long-sleeved shirt in addition to gloves to ensure they do not come into contact with the Sphagnum moss.
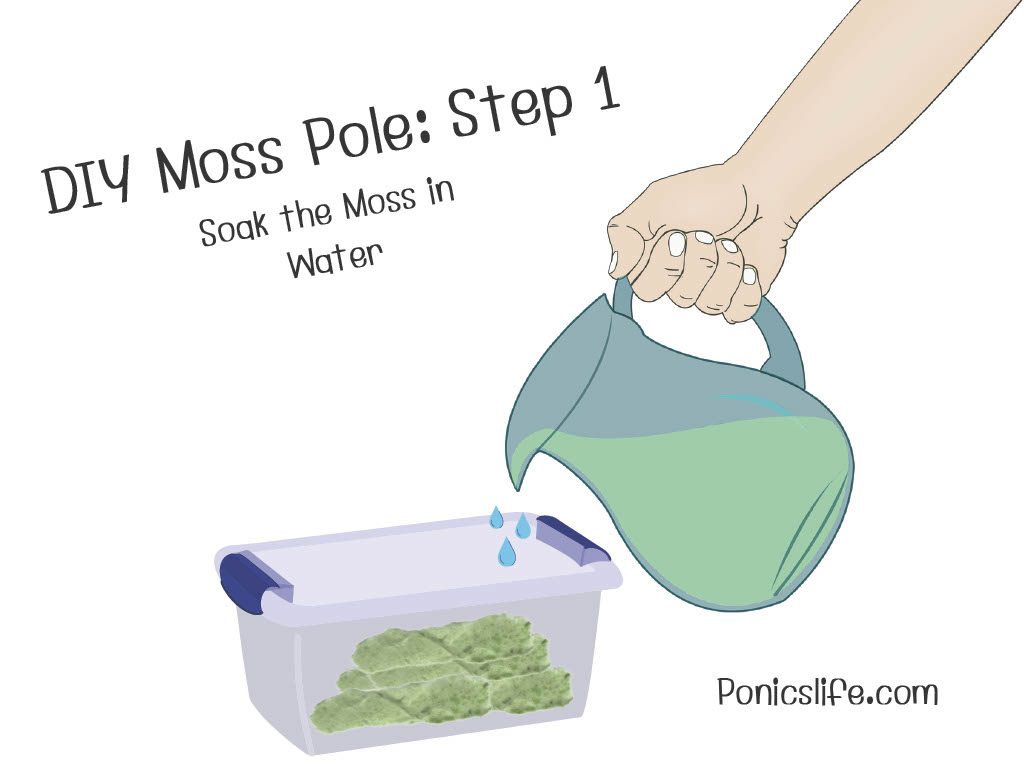
1. Soak the Moss
First, pre-soak your sphagnum moss, sheet moss, or coco coir. This will attract your plant’s roots toward the moss pole as it grows.
With your protective gloves on, dip your moss into the bowl of water. Let it soak for fifteen to twenty minutes. Your moss will expand as it absorbs the water, so keep an eye on it and add more if the water runs out before twenty minutes have passed.
2. Squeeze Out the Excess Water
Still wearing your protective gloves, remove your moss from the bowl and squeeze out any excess water. It should now be damp but not dripping.

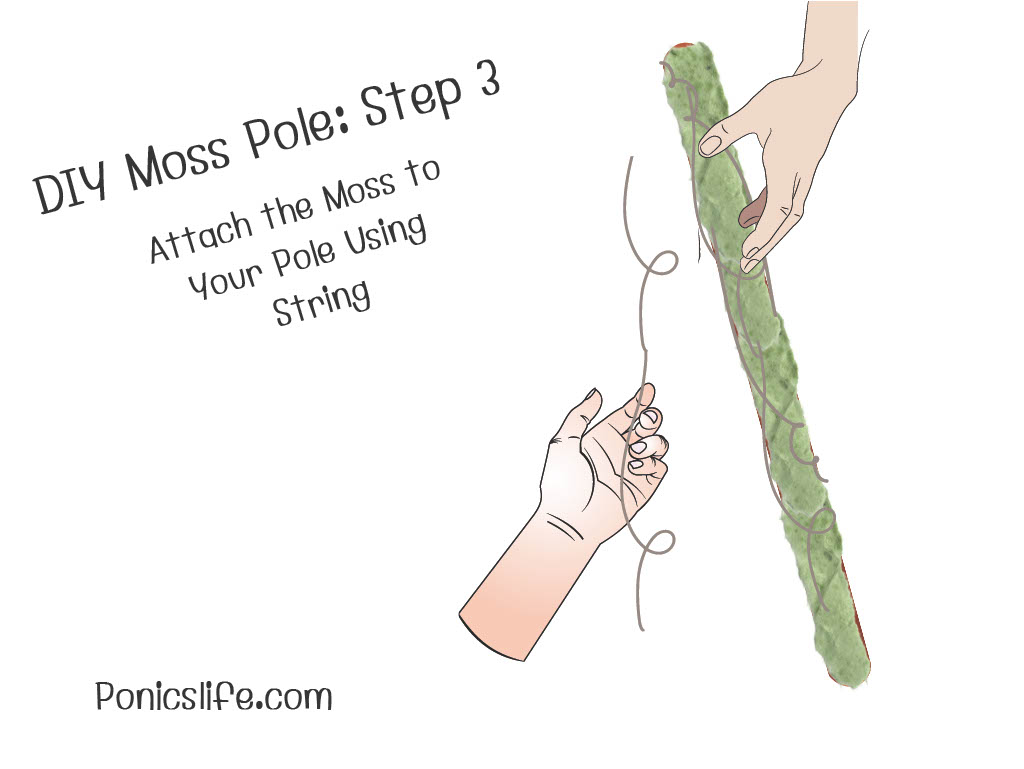
3. Attach the Moss to Your Pole
Use your string to attach the moss to your pole.
If you’re using a sheet of coco coir, you can simply cut it to size and tie it around the pole using your string.
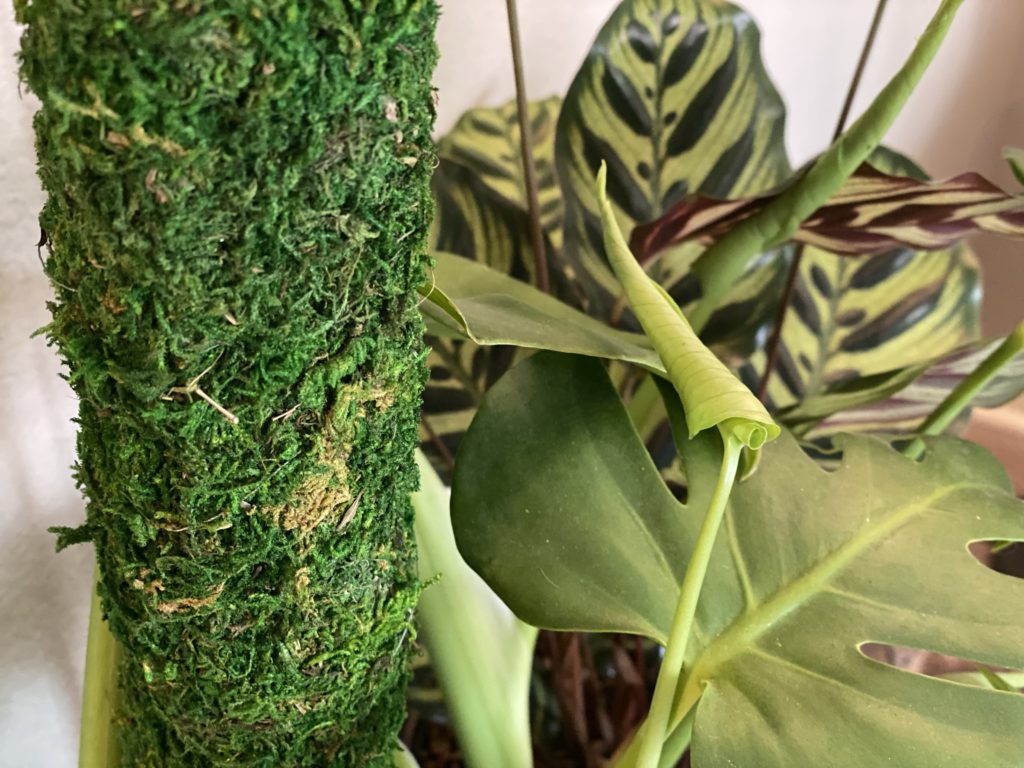
If you’re using sphagnum or sheet moss, the best way to attach it is by first tying one end of a long piece of string tightly around the top of the pole. Next, take a handful of moss. Hold the moss onto the pole with one hand, and use the other to wrap the string around it in a downward spiral. Continue adding handfuls of moss until you have coated the pole in ½ – 1 inch of moss. It’s essential to provide your plant with plenty of moss to grow roots into, so don’t be shy about adding a second layer if necessary.
Leave the bottom 6-12 inches of the pole bare because this will be inserted into your soil or growing medium and won’t be visible.
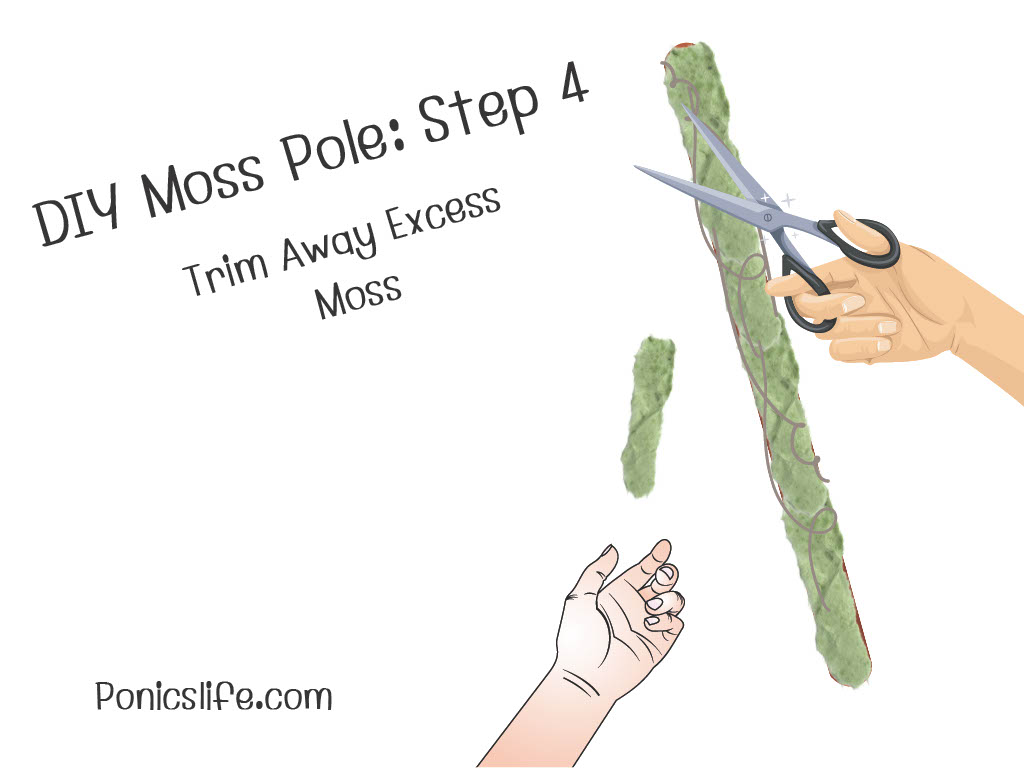
4. Trim Any Excess Moss
Trim off any pieces of moss sticking out or straying from your pole to make it look neat.
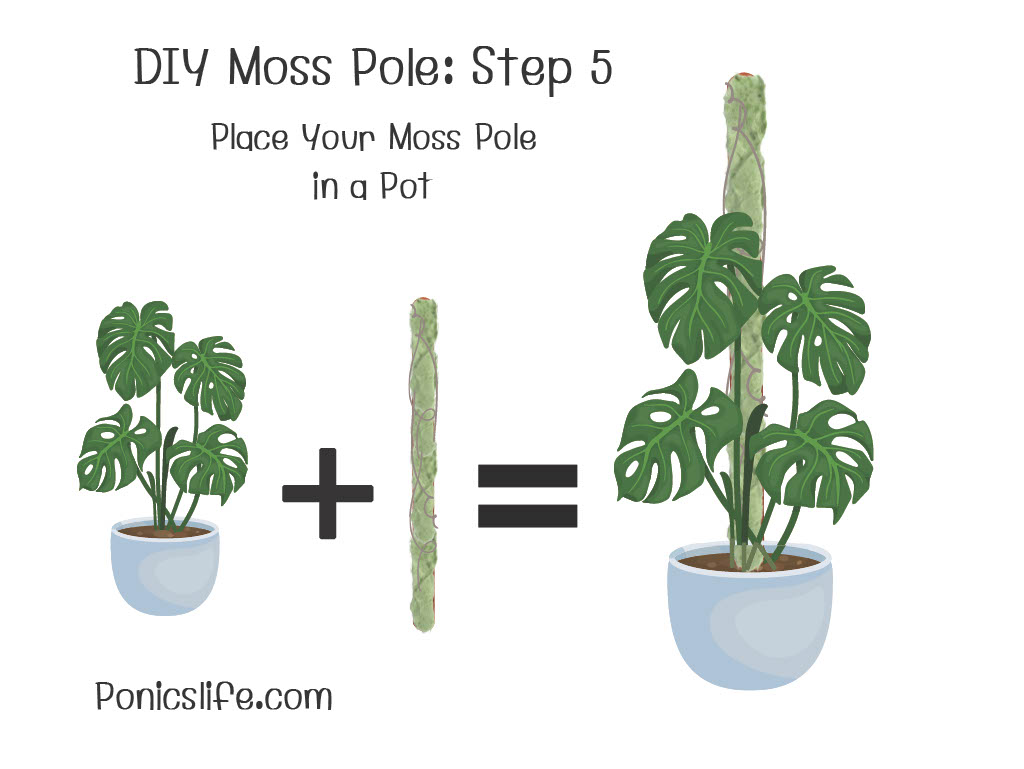
5. Place Your Moss Pole in the Pot
Insert the bare base of your moss pole carefully into your plant’s pot. Do this gently and slowly to avoid disturbing its roots and insert it as far as possible for stability. You can also add some extra soil or growing medium around the base of the moss pole to ensure it is stable.
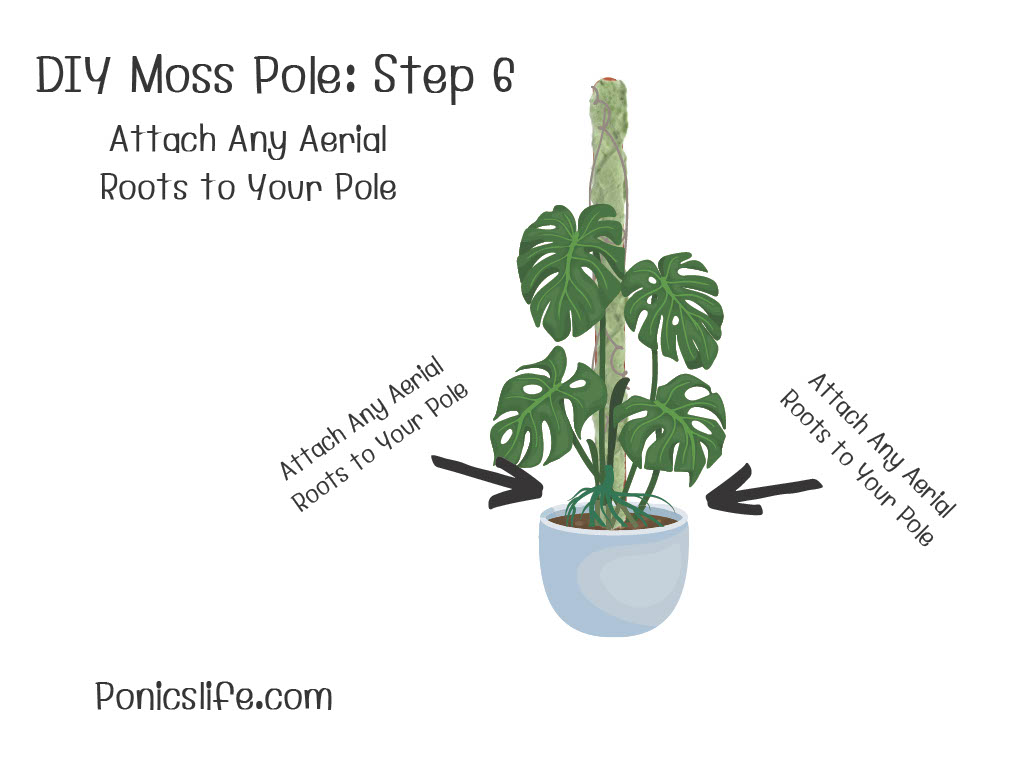
6. Attach Any Aerial Roots to the Pole
If your plant already has some aerial roots, you can secure them to the pole straight away. Use another piece of string to attach it lightly to the moss. Use care, and never force them into place because you could damage them.
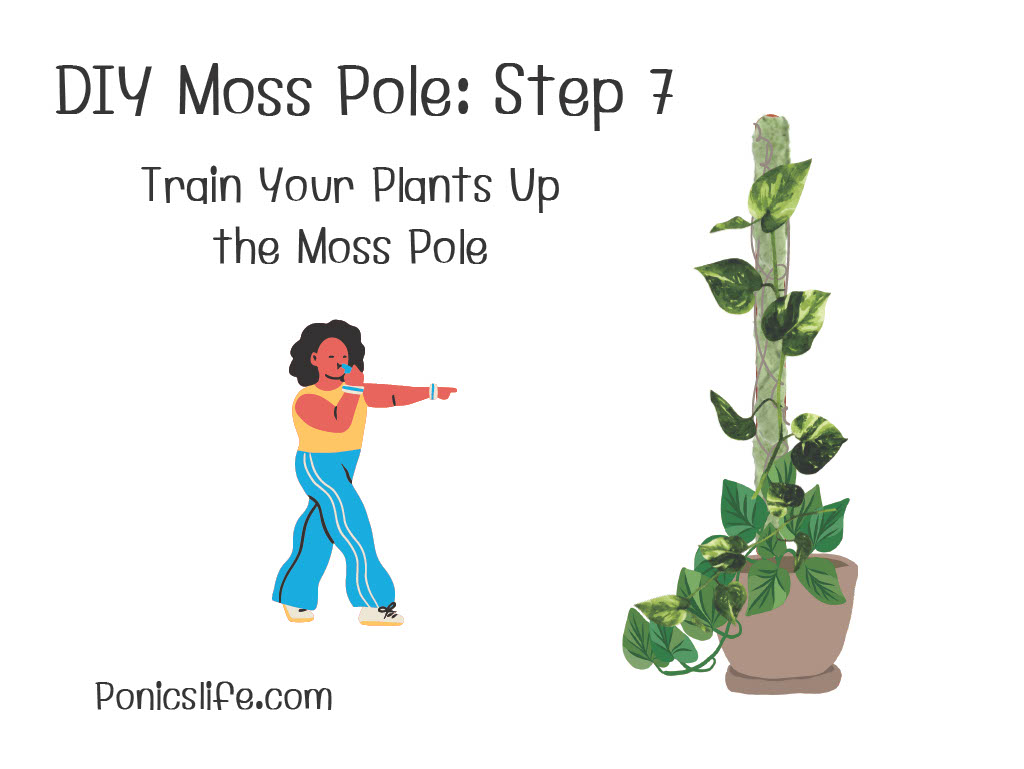
7. Train Your Plant Up the Moss Pole
As your plant grows, you can train it up the moss pole. Do this by gently winding its stems around the pole when they are long and flexible enough to bend without being forced. Use more string to attach them in place, and be careful to tie them loosely, so you don’t injure the plant.
How to Care for Your Moss Pole
Moss poles don’t require much maintenance and should not be disturbed once installed to protect your plant’s roots. You should check on them regularly to ensure they stay moist and your plants have not outgrown them:
Keeping Your Moss Pole Moist
You should continue to care for your moss pole by keeping it consistently moist. When the pole is kept moist, your plants will seek it out to absorb the water and secure themselves to it in the process.
You can keep your moss pole damp by:
- Misting the pole with a fine mister
- Watering down the pole – pour water on the very top of the pole and allow it to trickle down
Adding More Height to Your Moss Pole
Should your plant outgrow your moss pole, do not remove it. This can damage the roots attached to the pole and cause harm to your plant.
Instead, add an extension to your moss pole to support your plant as it grows. You can do this by creating a second pole and attaching it securely to the top of the first.
If you ever need to repot your plant, be sure to transplant the original moss pole alongside it without separating them to avoid damaging any aerial roots.
Are You Giving Your Houseplants Everything They Need?
There’s always something new to learn about our houseplants, which is why indoor gardening is such a popular and enjoyable hobby. For more guides and resources to help you give your plants the environment of their dreams, visit the Ponics Life blog! We’re constantly releasing new guides and resources about growing and caring for houseplants indoors, whether you grow them with soil, hydroponics, aquaponics, or aeroponics.
Learn everything your houseplants need to thrive on Ponics Life.